Adobe After Effects is an excellent video editing software that can perfectly handle both simple & advanced video editing tasks. It helps you enhance your video clips. However, this software comes with a set of well-known bugs and Adobe After Effects edit video not working issues that make it quite inefficient and unfit for regular usage.
Common Problems of Adobe After Effects:
One of the major problems that can be easily reproduced with this version is its frequent tendency of crashing. For an example, when you are working on a critical video clip and the software crashes all-of-a-sudden. Another problem that is often encountered with After Effects includes the difficulty in launching the program. Sometimes it becomes totally impossible to launch this program by double-clicking on its shortcut menu.
Now, we will show you the best alternative video editing software to Adobe After Effects which can solve all the problems above.
The Best Alternative to Adobe After Effects - Filmora Video Editor
The aforementioned problems will result in a huge time waste and generate an annoying user experience. So, if you are looking for a reliable software that helps you perform the video editing tasks smoothly and seamlessly, then you should consider using Filmora Video Editor for Mac (or Filmora Video Editor for Windows). It's the best and most efficient alternative to Adobe Video Editing Software. This video editing tool can offer you an unmatched experience. Additionally, it features a plenty of important and essential features that will help you preparing professional-looking videos within a snap.
Key Features of Filmora Video Editor:
- Drag & drop your individual video clips or images to create the final video.
- Great-looking animated titles and special effects will turn your video impressive and stunning.
- Allows you to use hand-picked filters, motion graphics, and overlays.
- Options for directly sharing your final edited video on social media networks.
4 Easy And Simple Steps to Edit A Video with Filmora Video Editor
Step 1. Launch the Program
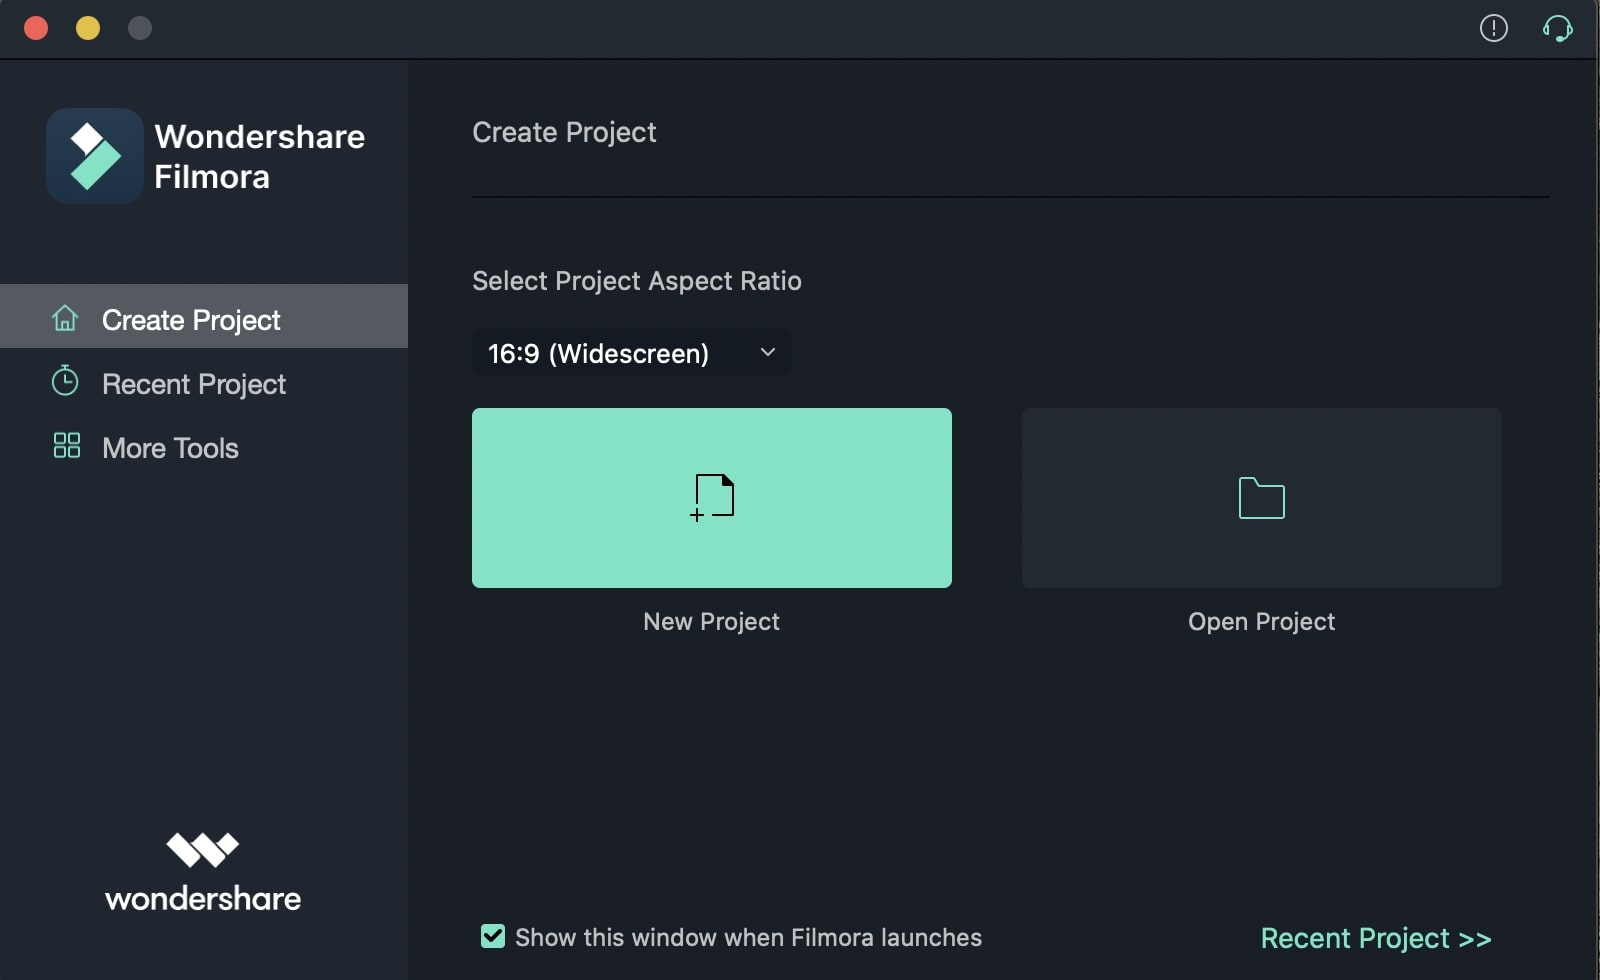
After you download the latest version of Filmora Video Editor from its official website and install it successfully, launch the program and choose to create a new video in 4:3 or in 16:9.
Step 2. Import Video to the Program
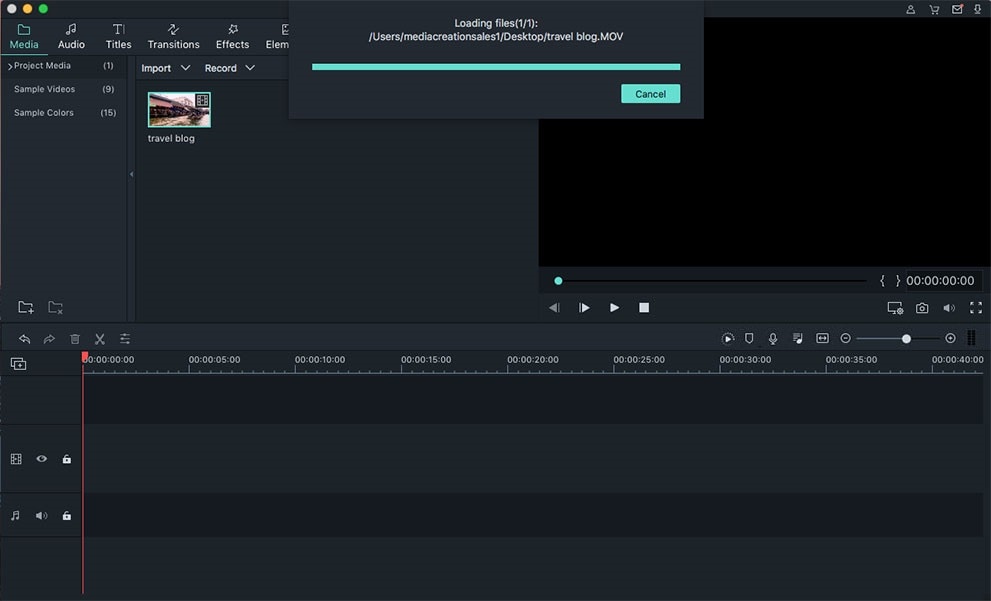
To import your video clips, you can opt for the drag and drop feature that lets you import photo, audio files, and individual video clips.
Step 3. Edit Video
After importing the desired video clips, you are now ready to edit your video as per your preference. Luckily for you, Filmora Video Editor features multiple video editing options (as described below).
- Rotate, Split, Crop, Trim, and Join Video: This is the part of basic video editing where you can use double-click to rotate a video. Furthermore, you can drag and use the mouse pointer to trim a video. Click the scissors & cropping icon to perform splittings & cropping respectively.
- Stylize Videos: Filmora Video Editor features more than 200 filters than can perfectly stylize your video. You can also use the Motion Graphics, Animated Titles, and Special Effects as better options for customization and utilization.
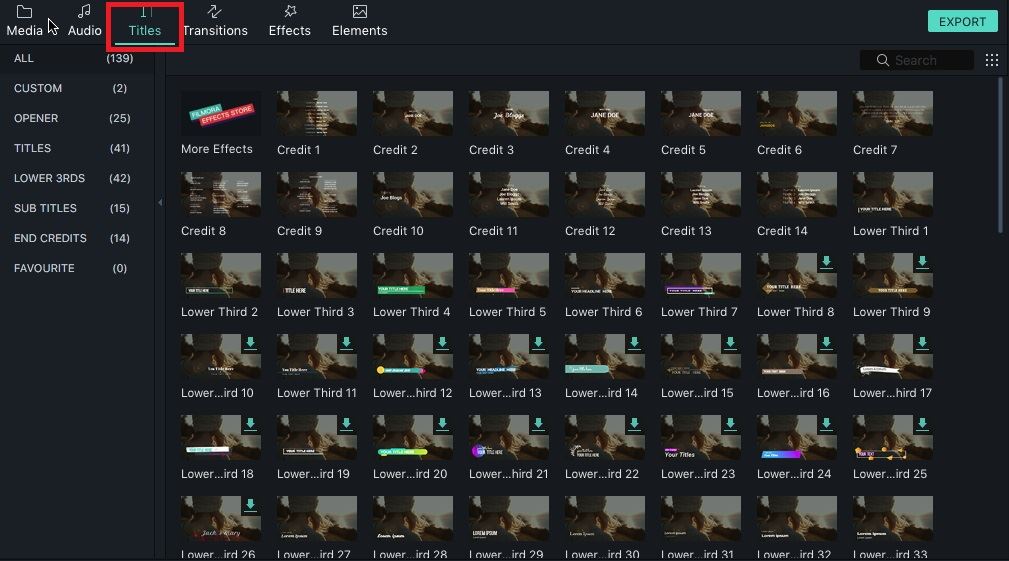
- Personalize Videos: You can now personalize your video clips with your preferred title and texts. There are approximately 120 variants of text and title are present that will help you personalize your video uniquely.
Step 4. Export Video
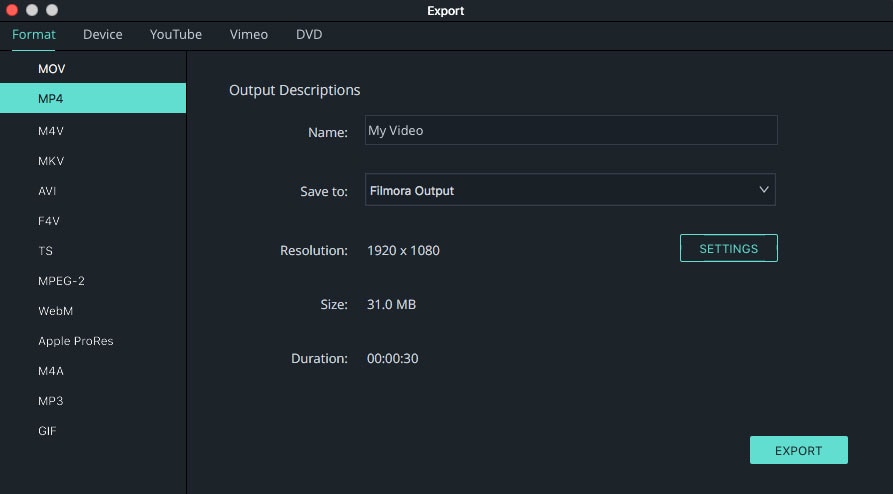
This is the final step. There are three ways to export and share your videos.
- Save your file to a specific video format.
- Optimize your video for various devices including iPhone and iPad.
- Upload your video directly to Facebook, YouTube, and Vimeo.


