Undoubtedly, at times arises some occasions when there is need to crop the videos in order to remove all the unnecessary information and to draw the attention of viewers towards the highly important elements within the video. Your video is going to become much better if you are going to crop all the black bars present on its sides or you are going to crop all the unwanted areas which are not contributing towards the end product by help of video screen cropper.
The Best Video Screen Cropper
Introduced as the first nonlinear video editor, Filmora Video Editor (or Filmora Video Editor for Mac) is the best video screen cropper for all the Windows users who are unaware of the experience of editing videos but are looking for the ways to create the professional videos. It offers nearly all video editing tools including combining, rotate, split, crop, trim, aspect ratio, speed, contrast, brightness, hue and other amazing effects such as overlays, filters, transitions, PIP, titles, face-off, etc. for all the users to create the amazing videos.
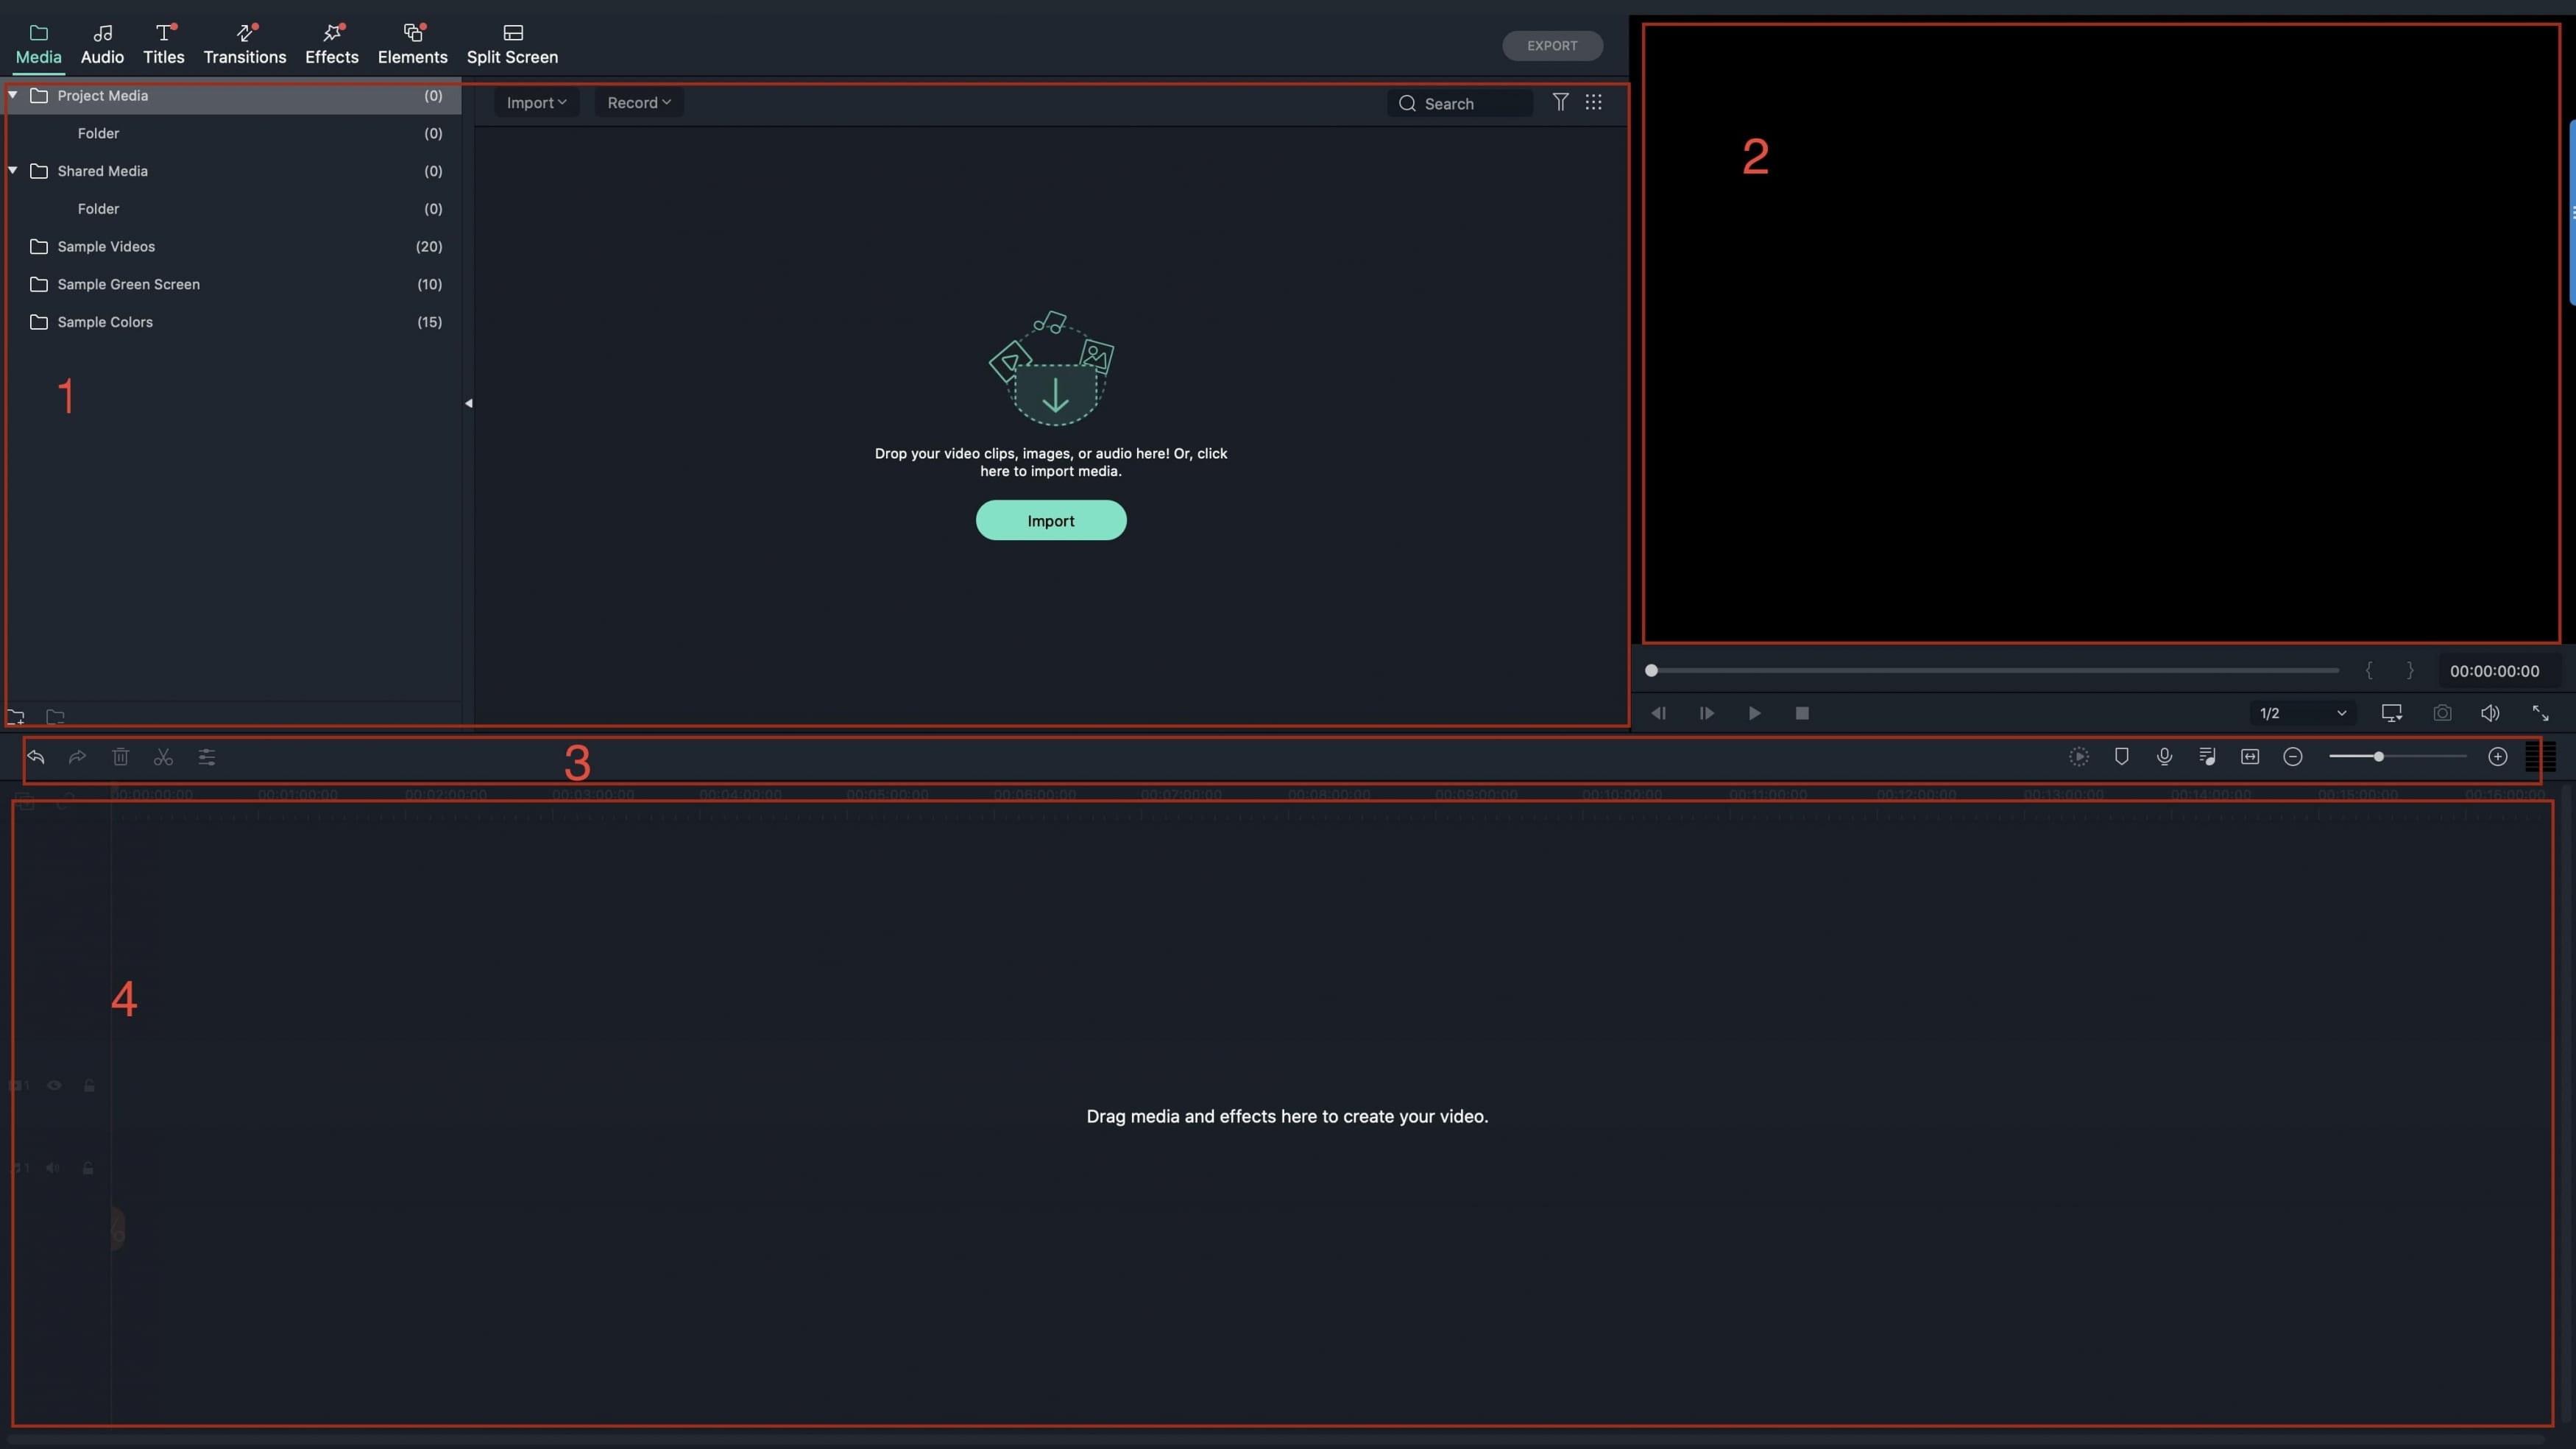
Key Feature:
- The software offers the manual or automatic crop screen video within the different sizes.
- It supports the wide range of formats including FLV, AVI, MKV, WMV, MOV and many more.
- Videos can be easily exported to different formats, and directly uploaded online or the burn discs option is available too
- Application of different effects, use of filters, addition of music, logo, and titles is also available.
How to Crop Video Screen
Here is an easy way to screen flow crop video, follow the steps and learn how to crop video screen size.
Step 1: Download and Install the Video Screen Cropper
In order to enjoy the perks of best video screen cropper, download the Filmora Video Editor to the Mac or PC and then run the installation file. For the installation of the program, simply follow all the onscreen instructions and install the video cropping software easily and correctly.
Step 2: Import videos to the program
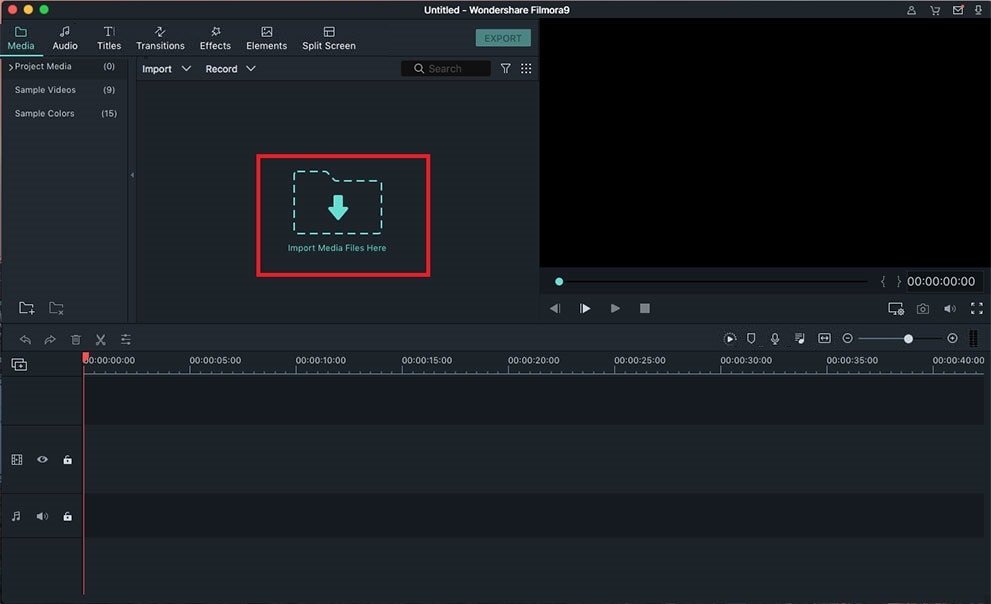
After successful download and installation of the video screen cropper, start the application. There are two ways of importing the videos to be cropped. The first way is the simple import of the videos by clicking on the import Tab present on primary video and then click on the files that you want to share. The other way of importing the videos to the program is the simple drag and drop feature which offers the dragging of the videos towards the user’s album before their addition to the timeline for the crop and edit.
Step 3: Screen Detection
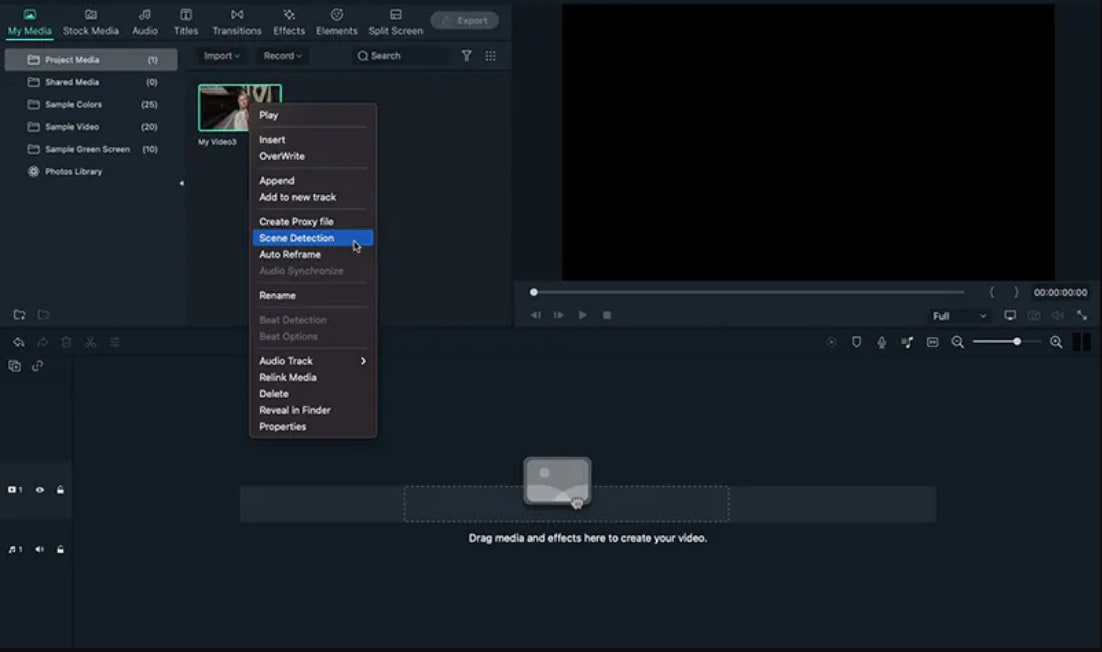
After the placement of the videos on the timeline, the next thing to be done is the detection of the screen. You must be looking for the specific removal of different video parts or you want to remove the black bars on the sides, Right-click the video in the Media Library and select "Scene Detection", wait a few seconds, then you will see that the video is automatically added to the Timeline with many video clips.
Step 4: Crop video
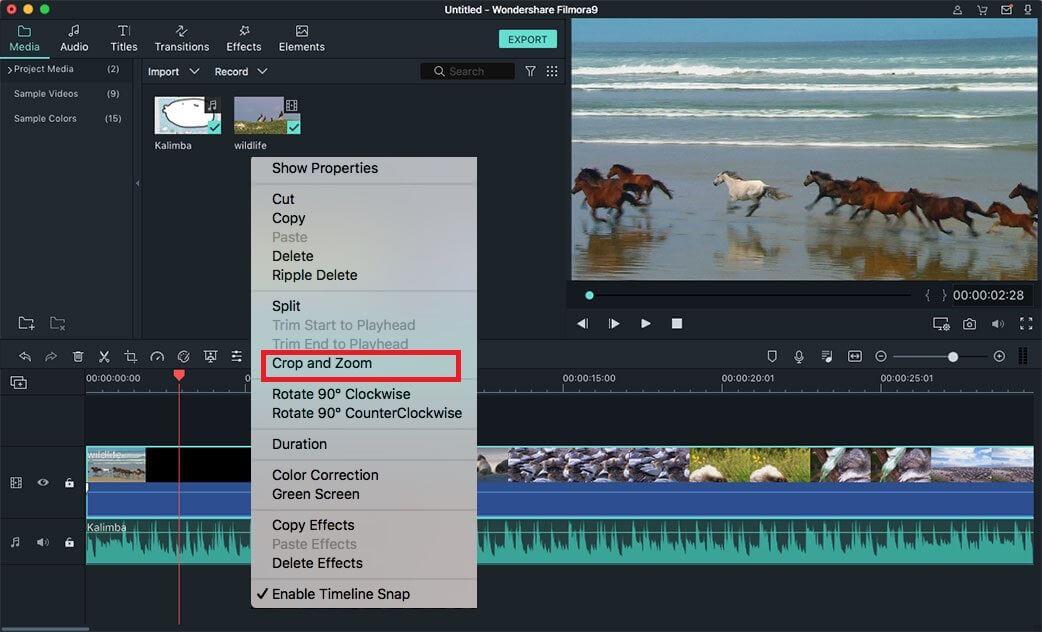
Now, the next thing after dragging of the videos is that right clicks on the video and then you are going to find the ‘Crop and Zoom’ button within the menu. Click the button for accessing crop video screen online that needs to be cropped.
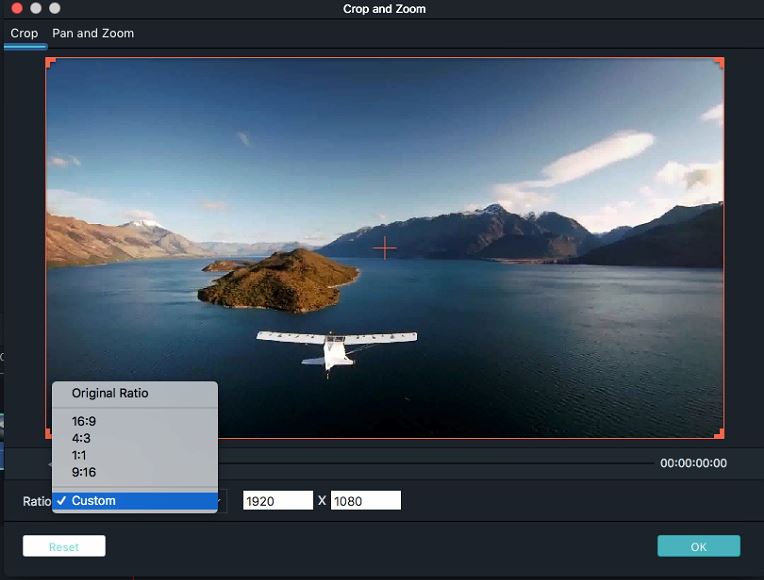
You are going to see three different options at the bottom: manual selection of crop area, keeping the crop area in 4:3 or 16:9 aspect ratio. Now you must select the following aspect ratio from these two if you are going to select ratios here. Otherwise, the black bars are going to be generated.
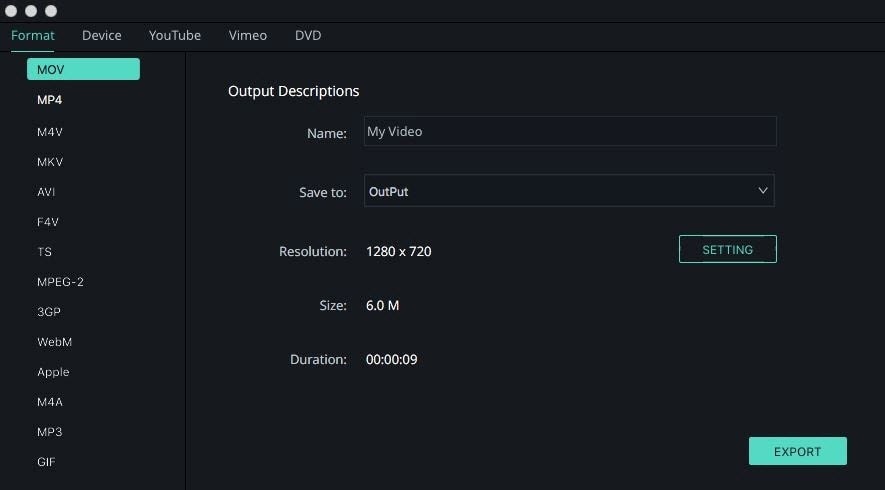
Step 5: Export the video file
When the satisfactory results are generated, click on the ‘Create’ button in order to save the cropped video. You can also export the video within the popular formats over the local computer by the simple selection of ‘Format’. If you are looking for the play of the video creation over iPhone, iPod, and iPad then click over the ‘Device’ and then select the thumbnail of the device. The Filmora Video Editor also gives the option of direct upload of the crop video to the YouTube or you can burn it to the DVD discs for playing it on the DVD player or TV.
