I want to Crop with Virtualdub, but I don't know how to use it. Any Instructions?
In case you are a beginner, there should be no worries on how to crop video using Virtualdub. Yes, you might experience a few difficulties but with instructions you will be good to go. When you download the program from whichever online site, there is a tutorial given out showing how to install and use the program. That will be your sole savior as a beginner and have no idea how Virtualdub works. Make sure you follow all the given instructions on the tutorial and you will have an easy time.
Part 1. How to Crop Video with Virtualdub Alternative
Filmora Video Editor for Mac (or Filmora Video Editor for Windows) virtually supports multiple video formats compared to the ancient Virtualdub editor. It includes all VirtualDub crop video functions that you'll access and customise your videos.
The crop video Virtualdub functions are simplified with the intention to replicate users experience on Virtualdub crop video to entice them and propagate their video editing output to a super level. You’ll be able to retouch comprehensively your video matter with effects such as tilt-shift, jump cut, and much extra. You’ll export your output wherever you want in the world at no struggle.

Key Feature:
- The drag and drop feature makes the access to everything much easier.
- Also has various video output selections unlike the Virtualdub crop video program. You’ll be able to encode your video into specific file formats merging all your mobile devices, and unlimited to upload the content on YouTube or burn on a DVD.
- Has very powerful editing keys; Just in one click, you can adjust videos using saturation options, contrast, and brightness.
- Massive video formats are supported; including, FLV, MKV, MOV, WMV, and AVI, just to mention a few.
How to Crop Video
Step 1: Download and install the Virtualdub alternative
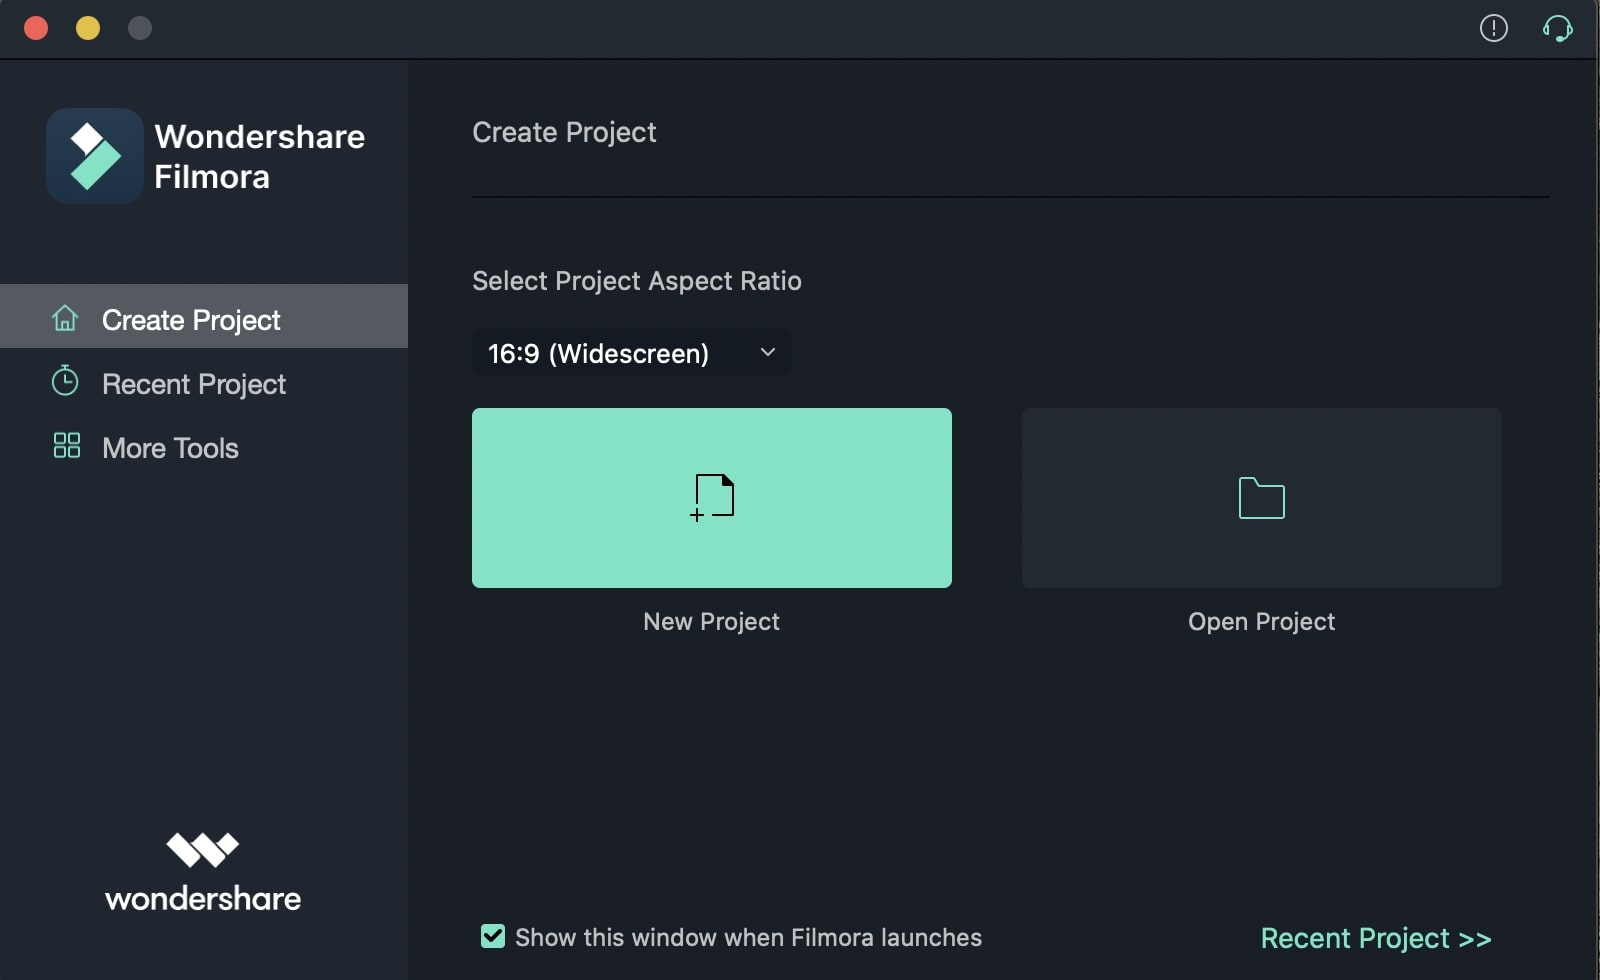
Firstly download and install Filmora Video Editor and then launch it to get to the user interface and just access the “Create New Movie”.
Step 2: Import video to the program
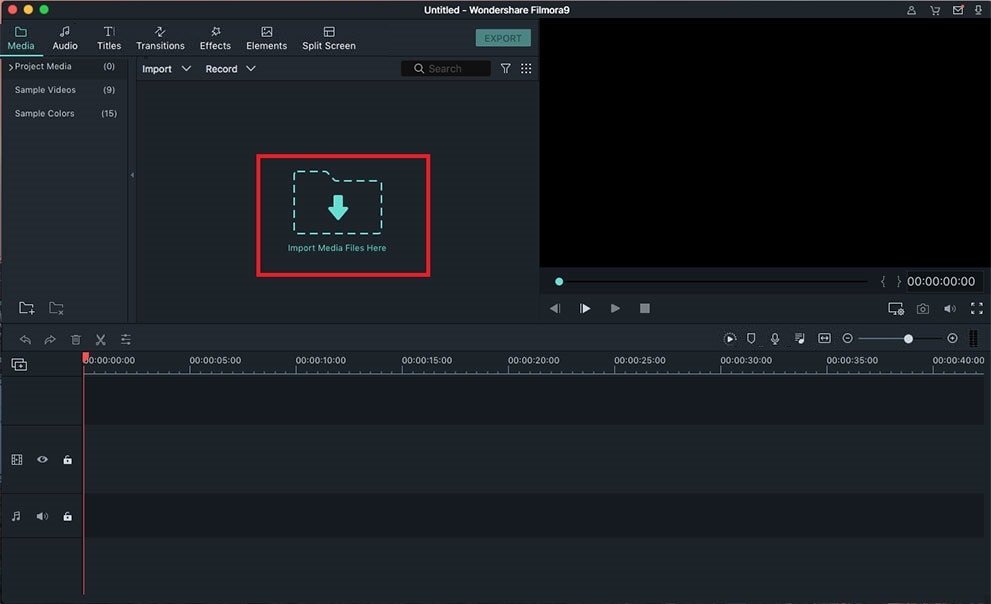
You can do this by clicking “Import Media“ available on the original windows of your computer and select files from the system. Alternatively, you may drag files from the computer storage system, and drop them to the targeted album just prior to adding to the interface for editing.
Step 3: Crop video
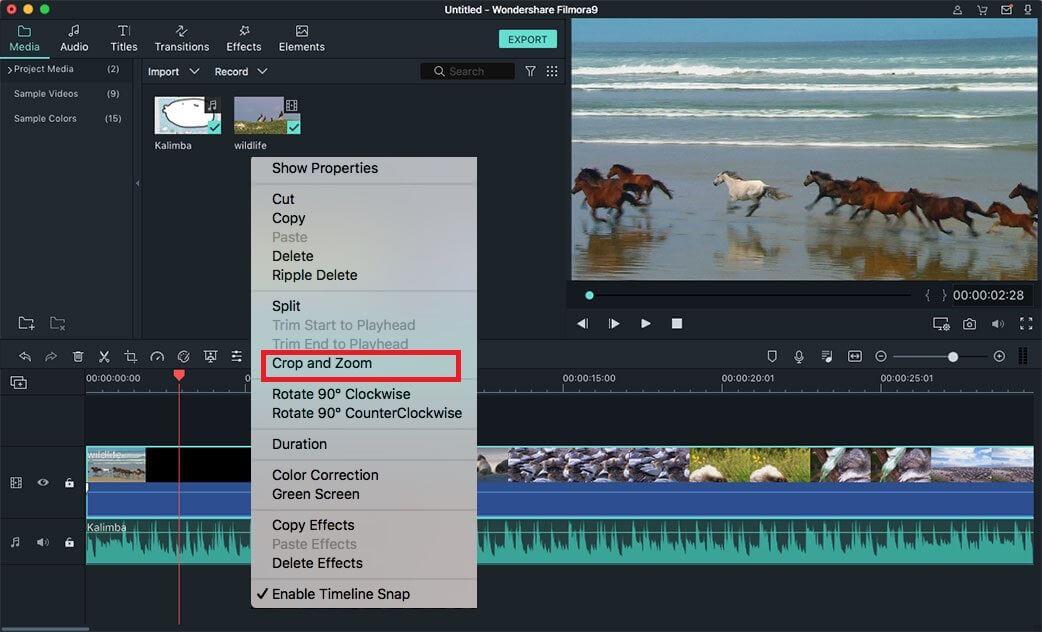
Sway videos from inside user's album to the video timeline on video track and right-click it, a "Zoom and Crop" button will appear in the menu. Click the button to open your eye editing window where you'll crop your videos.
Step 4: Save and export video
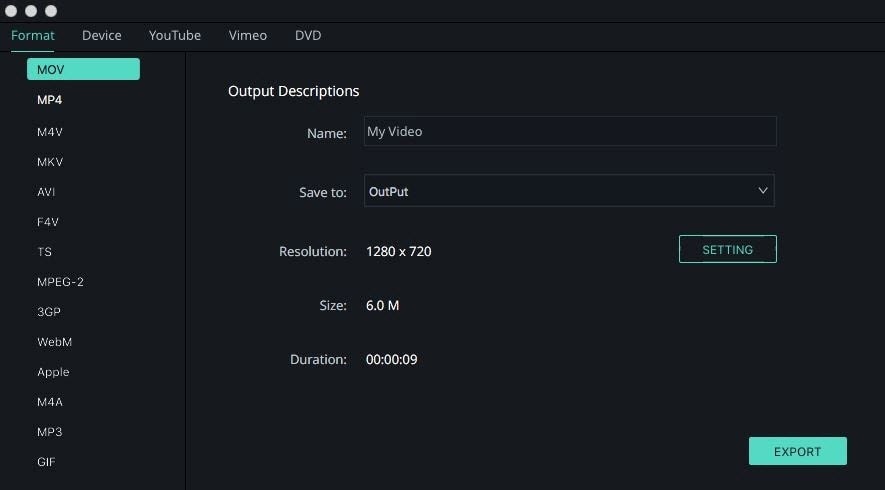
You can easily export the cropped video. After you finish your cropping with Virtualdub crop video alternative, click "Export" to facilitate the saving of your video. When saving is successful, you’ll be able to export the video in any format you may choose on your local computer windows.
Part 2. How to Crop Video with Virtualdub
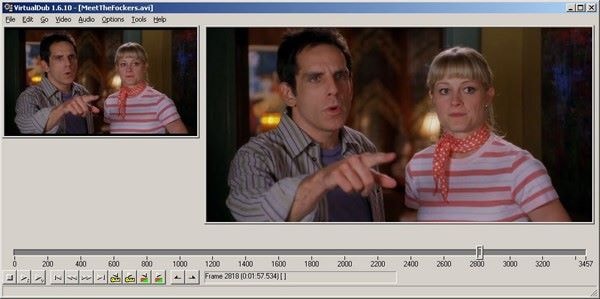
One thing you need to know before using Virtualdub to crop your videos is that it works at high speeds. Furthermore, it’s a versatile program thus will be very helpful when cropping video.
Steps to crop video with Virtualdub
Step 1: Begin by installing Virtualdub to your computer system. Download the program from a reputable online site to avoid being cheated around by imposters.
Step 2: Launch the program through going to "file" on the menu bar and click "open video file". That is one way of adding video files to the program or you can simply drag and drop. The good thing is that Virtualdub is compatible with most of the popular file formats so no problems will be experienced in opening the files.
Step 3: Add video filters to have key parameters for the video like contrast and brightness duly adjusted. Click the "ok" button and the button for cropping will become active. When you click on that, it will take you to the cropping window to do all the editing. You have to be very careful not to crop necessary parts and leave unnecessary ones.
Step 4: he output frame will indicate the cropping done and show your new video after editing. Save the changes and start enjoying your video.


