Can I Burn DVD from Windows Movie Maker Video?
You have to ensure the computer system you are using has been installed with the DVD burner for you to burn DVD from Windows Movie Maker video. Once that is accomplished, you should not get worried about the success of the process. The DVD burner is not available on all platforms and you must be very keen on that. No worry! Here is the detailed guide on how to burn Windows Movie Maker video to DVD.
Part 1: Best Solution to Burn WMM Video to DVD with DVD Menu
There are very many reasons why you should choose DVD Creator for Windows (or DVD Creator for Mac) for burning Windows Movie Maker video to DVD. It will always be a good alternative to Windows Movie Maker. For once, you will have a program to help in total transformation of your videos thanks to a wide range of DVD templates. Also, you can work on a wide variety of video files since it supports different formats to make it highly compatible. Another thing you will enjoy is high speeds with no quality loss.
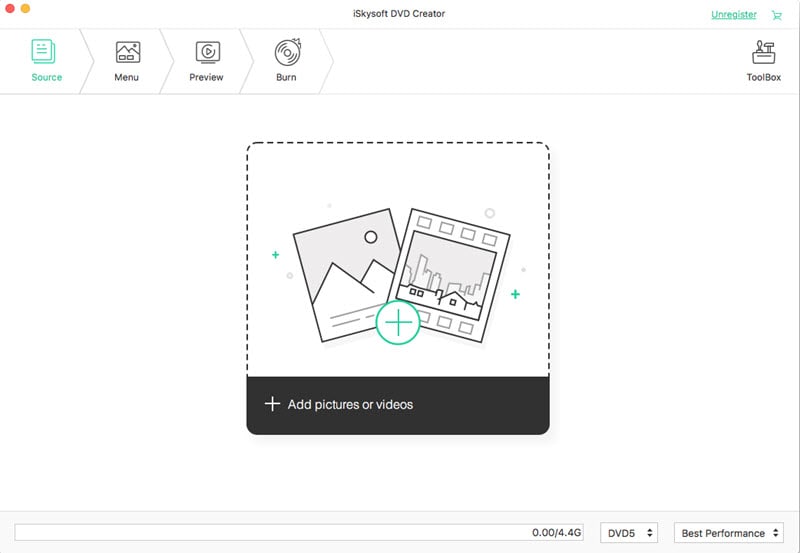
The follow-up steps help you easily burn Windows Movie Maker videos to DVD with DVD menu by using the DVD Creator for Mac.
Step 1
Import files- this is the step to add all the files that you want to burn through dragging and dropping to the timeline. Alternatively, you can click “+” button on the keyboard to add the selected files.

Step 2
Preview your files. After you import your file, you can have a preview of your files before burning it. Check on the right pane of the main interface and select "Menu Template". You can see "Menu Template" here. Double click on your the DVD menu you prefer to use it on your videos. Click "Preview" to see the effect.

Step 3
Start burning- from the four output options given, choose the one to use and set the ideal parameters you want for your video. ISO file, DVD Disc, DVD Folder (Video_TS) as well as DVDMedia file are the output options you will have for consideration. You can then start burning before saving once through.

Part 2: How to Burn DVD in Windows Movie Maker
It is paramount that you have enough understanding of Windows Movie Maker before starting to burn DVD. It will cushion you from simple mistakes that can be very costly.
As it’s the case, you must first start by installing the program to your computer and then launch. You will always start from that point before proceeding to the following:
Step 1: By clicking the “File” option on the menu bar and then “Add Video Files”, you will be able to import all the files that you are to make split screen. The program also allows for importing of many files at a go.
Step 2: Follow that by choosing the “burn to DVD” output profile from the long list you will see. Continue to “DVD video NTSC”, but it will vary depending on the type of system you are using.
Step 3: Click on the “convert” button and the process of encoding your video will begin.
Step 4: Select the “DVD menu” option once the process for conversion is over. This is the step when you will be able to customize your video and you must take full advantage of that.
Step 4: Finally, insert your DVD and then begin the process of burning Windows Movie Maker video to DVD.

Filmora Video Editor - Edit/Burn Video to DVD
- Edit video with basic and professional video editing tools.
- Apply special effects to video and add music to video.
- Directly burn video to DVD in high quality.


