Can I do a Green Screen with Windows Movie Maker?
It’s very much possible to do a green screen with Windows Movie Maker. It’s one of the unique techniques that you can use for coming up with professional videos. For instance, you can have the Berlin Wall inserted to your movie without necessarily travelling to Germany and it’s all because of the green screen feature. Following is a tutorial of how to make a green screen video with Windows Movie Maker.
- Part 1. Make Green Screen Video with WMM Alternative
- Part 2. How to Do Green Screen Video in Windows Movie Maker
Part 1. How to Make Green Screen Video with Windows Movie Maker Alternative
Best Windows Movie Maker Alternative to Make Green Screen Video
Filmora Video Editor for Windows is the best alternative to Windows Movie Maker in the market and provides the best methods, tools and techniques to perform the video editing easily. Filmora Video Editor enables you to easily make green screen movies , edit audio, apply effects and share your new movie on YouTube, Facebook, Vimeo, DVD, TV, iPhone, iPad, iPod, and more!
Key Features of Filmora Video Editor:
- It's a very easy to use video editor with a simple and clear interface;
- Provides plenty of wonderful video editing tools and special effects;
- Also has special features like Green Screen, Split Screen, Picture in Picture, etc;
- Supports saving the video in multiple formats or directly share to YouTube, Facebook and Vimeo;
User Guide to Make Green Screen with Filmora Video Editor:
As a beginner, the following steps will help you do green screen with the program. It is user-friendly which will help to enhance your experience when editing. Also, you will have all the opportunities to customize your videos in the best way.
Step 1:
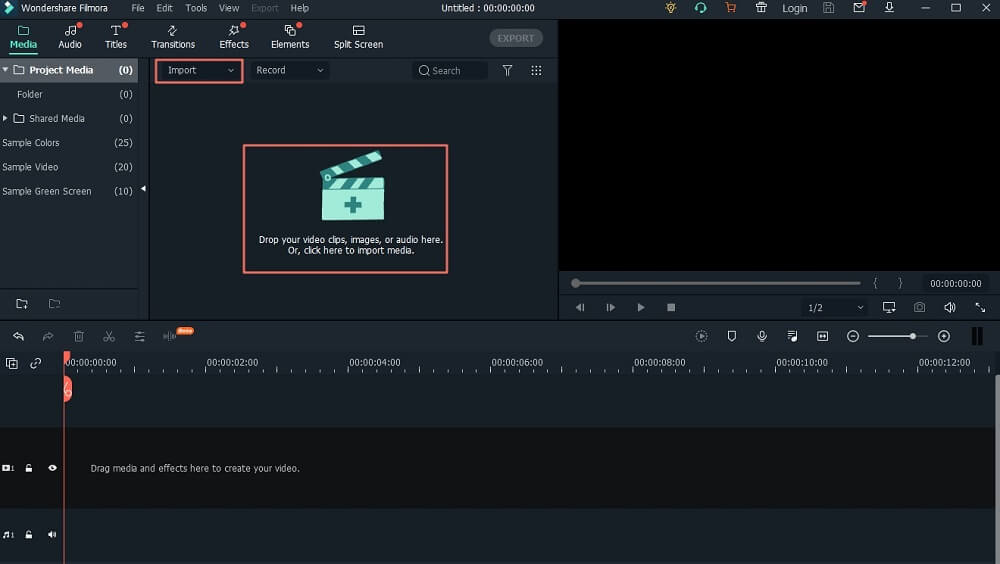
Import the video file that you are to work on into the program. And drag the green screen picture to the “PIP” track in the timeline.
Step 2:
After that, click on the “Inspector” button that is accessible from the green screen tab.

Step 3:
Adjust settings for the picture that you have added to your video from the “PIP Inspector” window.

Step 4:
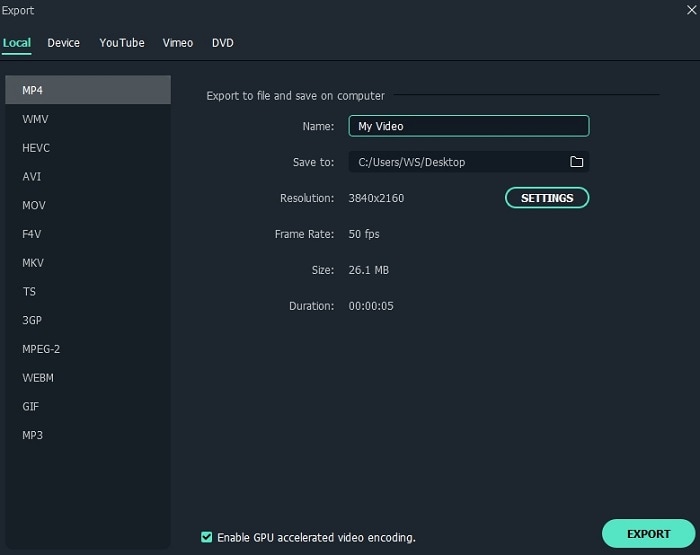
Lastly, save all the changes you have made to the video and start enjoying it.
Part 2. How to do Green Screen Video in Windows Movie Maker
The steps for using green screen on Windows Movie Maker are straightforward to give you an easy time. As long as you have followed them to the letter, you are bound not to experience any hitches.
Step 1. Import all the files that you want to add green screen to your program. Make sure you have the green screen video and the replacement video as well arranged in an orderly manner. Then, proceed to the “Transition” section from where you will see many options to choose “Green Screen”.
Step 2. Start by dragging the green screen video to the timeline and then follow with the replacement video. Make sure you have stuck to that order otherwise you might experience some hitches later on.
Step 3. In between the two files, you should drag the “Green Screen” transition you selected and have it stretched such that it covers the length of both. The clips will be merged automatically. Make sure you have watched the file to be sure everything is okay.


