Can I Put Slow Motion on a Video with Windows Movie Maker?
It is very fortunate that Windows Movie Maker allows users to add slow motion effects to video file. The most important thing will be having the program downloaded and installed to your computer then you will be good to go. Make sure you have adhered to the given tutorials when installing so that no hitches are experienced. Next we will show you how to add slow motion effect in a video using Windows Movie Maker. Besides, we will also provide another easy way to use slow motion in a video.
- Part 1. Make Slow Motion Videos with Windows Movie Maker Alternative
- Part 2. Guide to Create Slow Motion Videos with Windows Movie Maker
Part 1. Make Slow Motion Videos with Windows Movie Maker Alternative
Best Windows Movie Maker Alternative For Slow Motion Videos - Filmora Video Editor
Whether you are quite used to online video editor or have totally no experience, this Filmora Video Editor will satisfy your need. It has a user-friendly interface with countless advanced features. This little program provides the easiest way to add slow motion to your video clips and allows you to create your movie easily. Beginners will find it extremely easy to use and experienced users will enjoy its powerful and advanced features.
Key Features of Filmora Video Editor:
- The Speed tab in the Action Cam Tools helps you to adjust the video speed to make slow motion videos;
- Various filters, overlays, transitions, motion graphics and titles are added regularly;
- There are also some special effects in Power Tool, including Tilt-shift, Mosaic and Faceoff;
- The edited video can be uploaded to YouTube, Facebook and other social media platform directly from the program;
User Guide to Make Slow Motion Videos with Filmora Video Editor:
Are you a beginner with Filmora Video Editor? If yes, the following steps will make it easy using the program to slow down a video.
Step 1. Import video to the program
Import all the files that you want to slow down into the program timeline through dragging and dropping. You can use the alternative of the menu bar by clicking on “File” and “Add Files”.

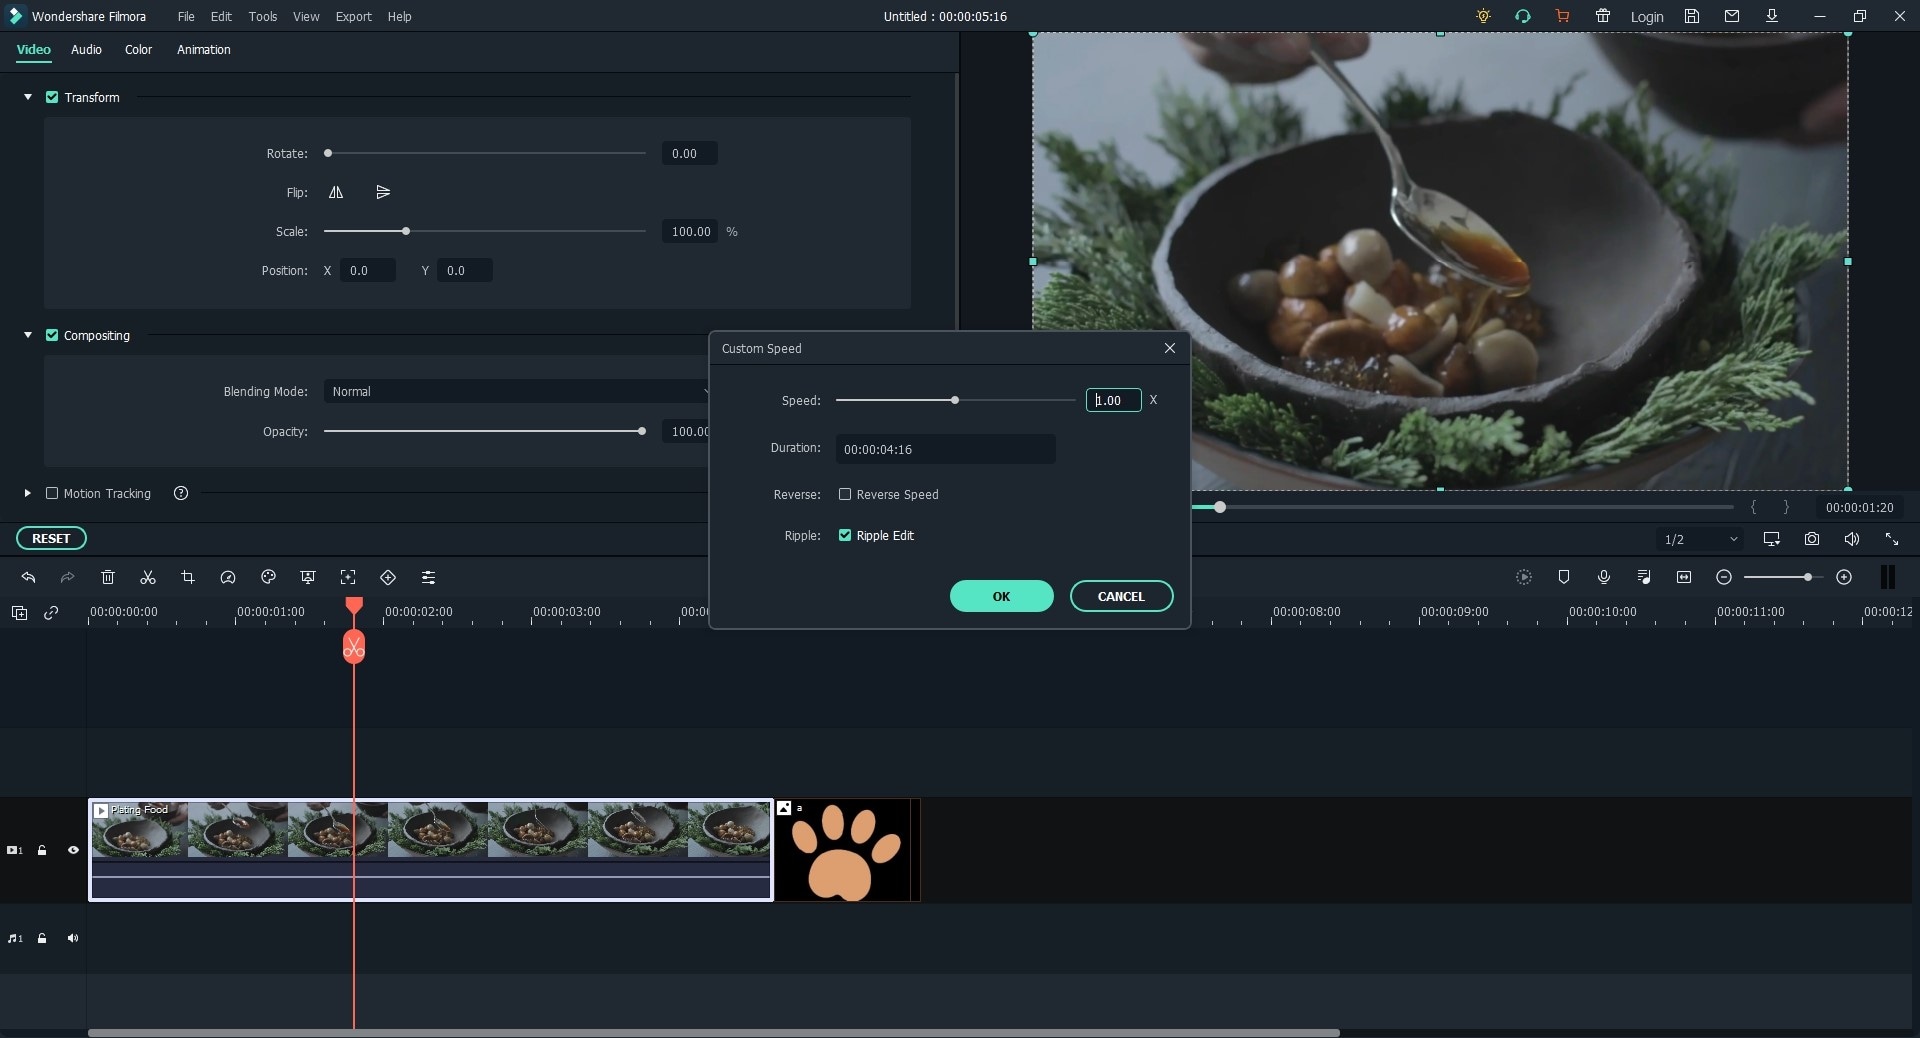
Step 2. Make slow motion video
Then, choose a speed for the file and a notification will be delivered to the effect that speed changes are successful. There will be very many ways for adjusting speed of your video so be keen on choosing the one you are comfortable with.

Part 2. Guide to Create Slow Motion Videos with Windows Movie Maker
You do not need an expert to help you create slow motion videos in Windows Movie Maker when this guide is available for your free consideration and use. When you have installed the program to your computer, launch it and turn focus to the following steps.

Step 1. Load files by clicking on the “Add Videos and Photos” button. This will allow you to browse through the computer for the videos. This option is the best because it allows for batch importing of videos. Also, you can simply drag and drop the file which is easy.
Step 2. When the files are in the timeline, you can start editing to slow down. You will be required to highlight the video and then click on the “Video Tools” option from the “Edit” tab. Depending on the extent to which you wan t the video slowed down, you can choose an appropriate speed from the available options.
Step 3. After slowing down your video, always remember to save changes otherwise nothing will be applied if that is ignored. Also, store the file in an easily accessible folder from the computer where you will have no difficulties browsing through.


