Can I make a split screen video on Windows Movie Maker?
There are many questions over how to make split screen in Windows Movie Maker. The truth is that Movie Maker does not work on split screen functionality. You just need an Windows Movie Maker alternative to do a split screen effect or using Windows Movie Maker on Windows 10. Below we will share tips on doing a split screen effect with Windows Movie Maker alternative easily.
Best Windows Movie Maker Alternative to Do Split Screen Video
Filmora Video Editor is a very easy-to-use program that you will enjoy using when making split screen videos. It is one of the best alternative to Windows Movie Maker for helping you to make two or more videos in one screen. Any time, Filmora Video Editor will be a preferred option for making split screen video.

Why Choose Filmora Video Editor
- The program comes with many features to help in personalizing video including video color correction, personalized texts watermark, green screen, scene detection, tilt shift, face off, PIP effect, and more.
- You have basic editing tools for customizing aspect rate, contrast, speed, hue, and trimming, splitting, merging, cropping and rotating video.
- Additionally, there are amazing effects to use, including transitions, intro/credit, titles, graphic motions, split screen, sound effect as well as filters.
Simple Steps on How to Do Split Screen Videos with Filmora Video Editor
The following simple steps will help you make split screen videos with Filmora Video Editor. It is a user-friendly program, so you can expect to have the process done smoothly.
Step 1: Add files to the program
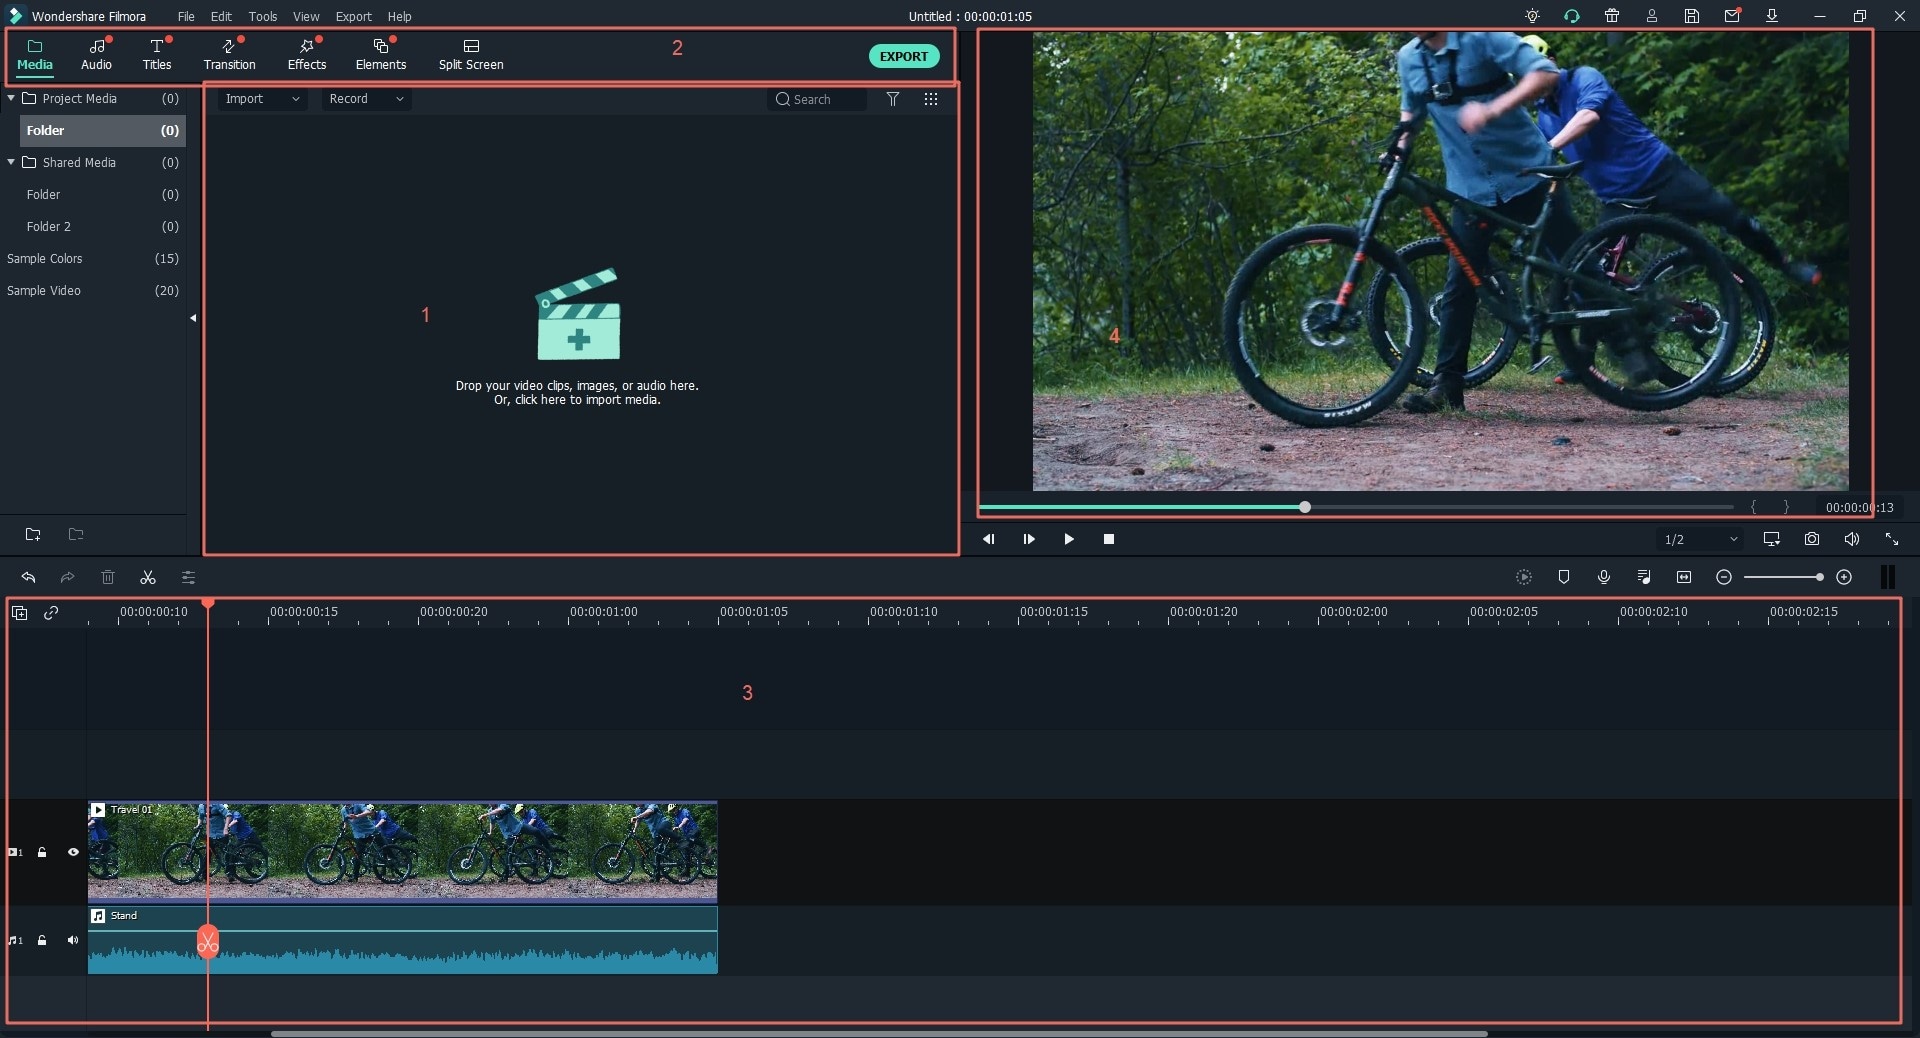
You can drag and drop the files to the media library of the program or click on the "Import" button from the menu bar to import the files.

Step 2: Do split screen
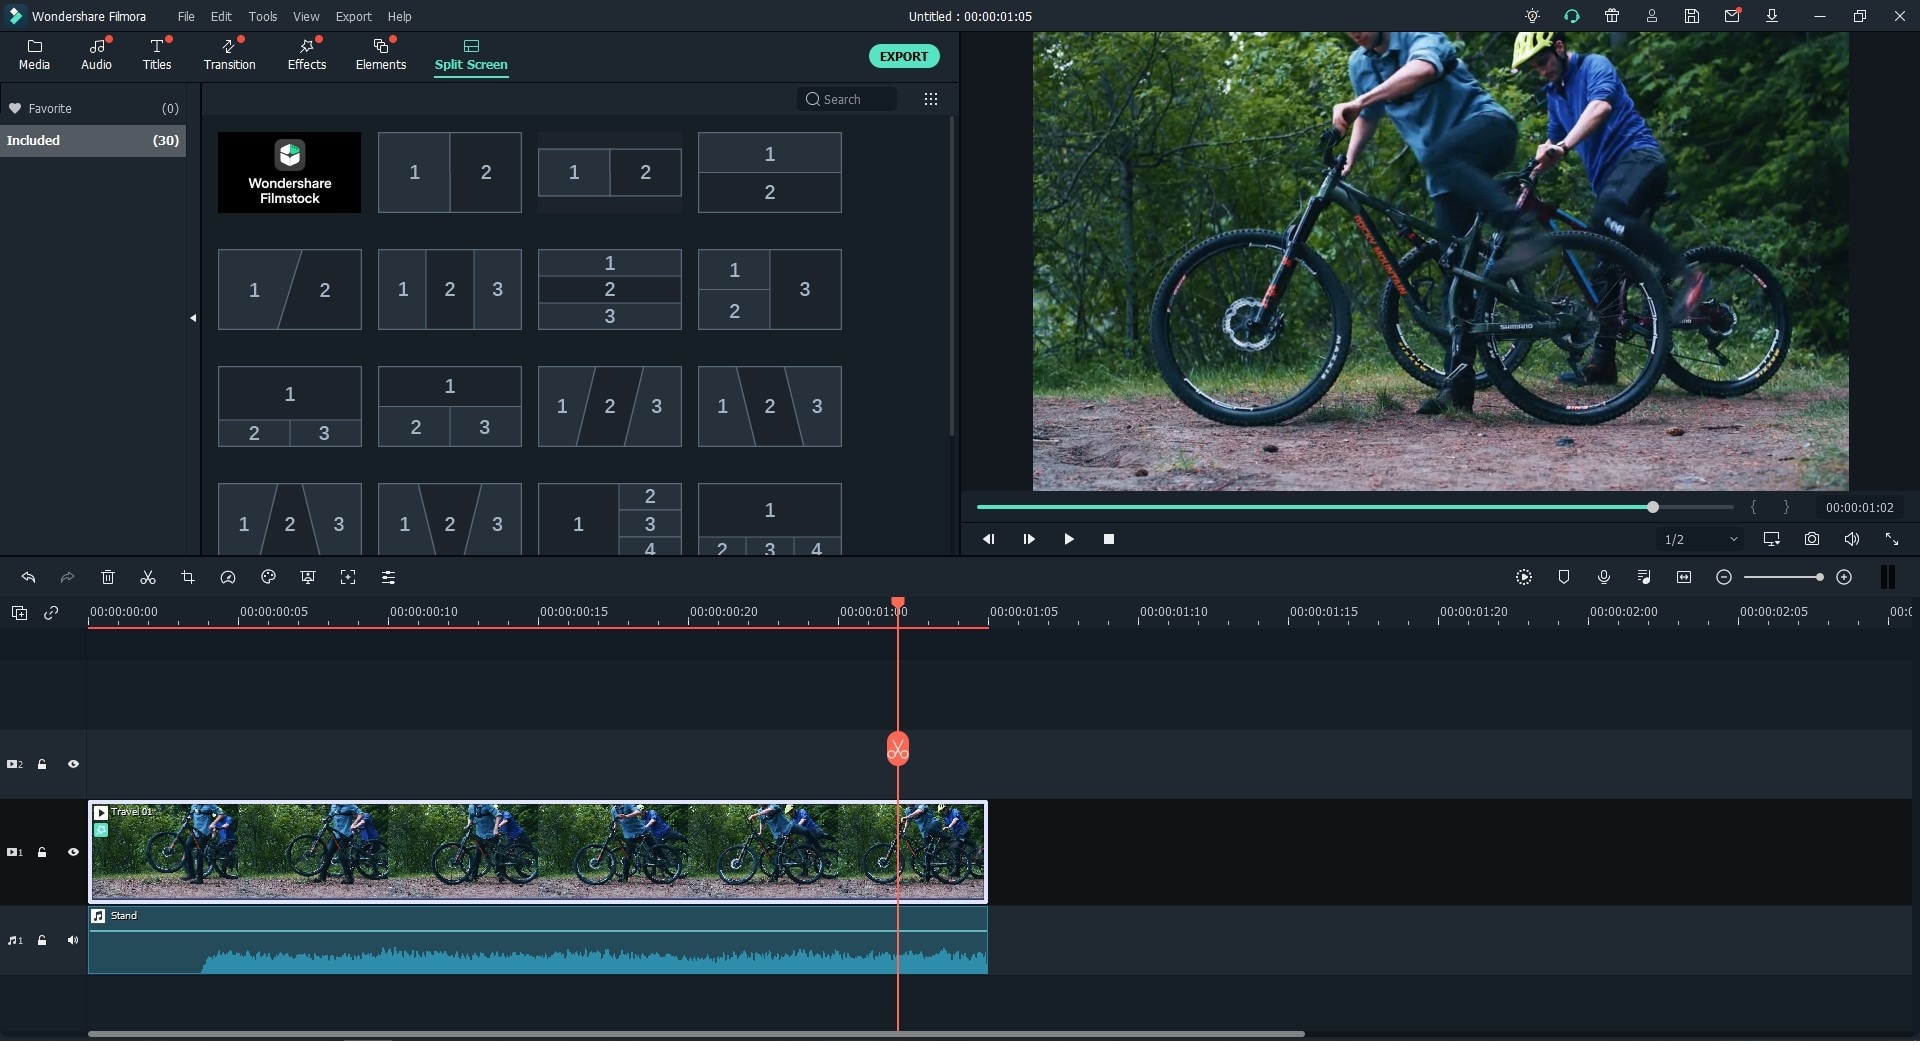
Navigate to the toolbar and click on the "Split Screen" button. Now you can select the screen type you need and add videos to each screen.

Step 3: Customize the split screen settings
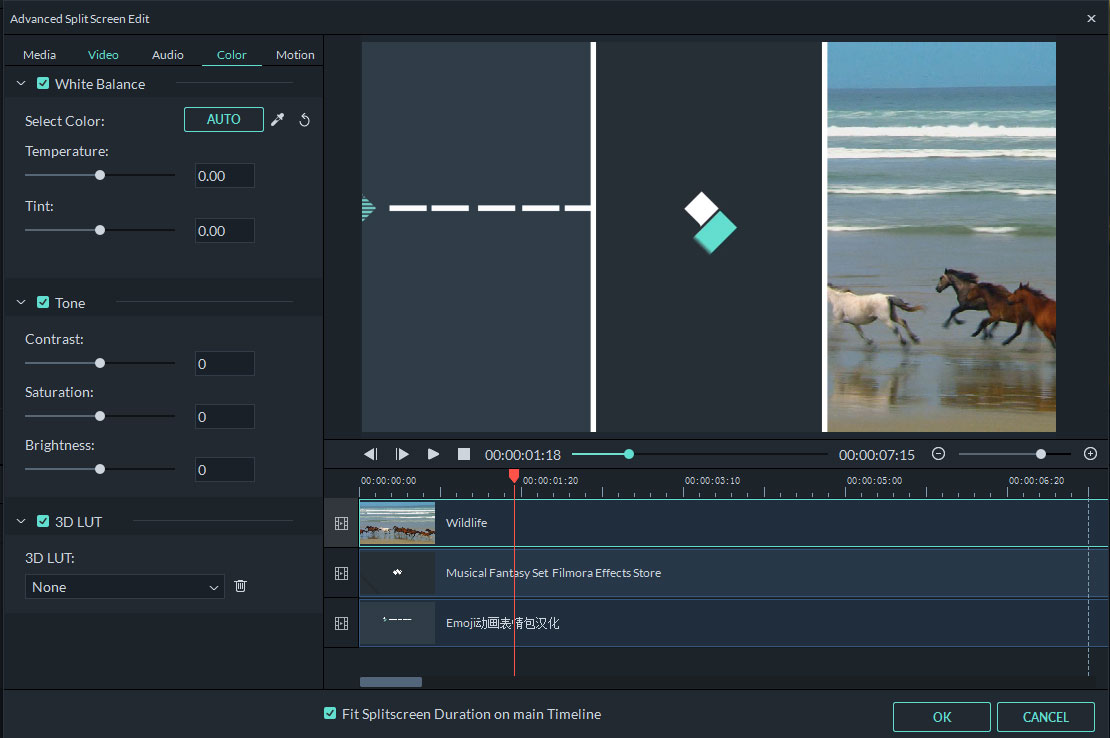
You can open the split screen window and set the duration of each video, and set the border for the screens.

Step 4: Export the video
After that, click on the "Export" button and select to save the video to specified format, mobile devices supported format, or upload the video to the social account.


