There are no limitations for trying out "stop motion" effect in Windows Movie Maker. Any person regardless of whether an expert or beginner can achieve as much success. For those who are new to this, "stop motion" is one of the animations that makes objects appear like they are moving on their own yet they are being manipulated. It is one trick that movie makers use to fake viewers of movies. It largely involves still photographs shot at diverse angles.
- Part 1. Make Stop Motion in Windows Movie Maker Alternative
- Part 2. How to Do Stop Motion Video in Windows Movie Maker
Part 1. The Easiest Way to Make Stop Motion in Windows Movie Maker Alternative
To make stop motion easily, we highly recommend you to use Filmora Video Editor for Windows (or Filmora Video Editor for Mac), which is the best Windows Movie Maker Alternative. This video editing software allows you to do stop motion by using freeze a frame feature. And you can also change the speed of the video and make fast motion and slow motion. It also enalbles you to add filters, transitions, PIP, elements, green screen, split screen and more to videos.
Key Features of Filmora Video Editor:
- The most easy-to-use video editing tool.
- Compatible with any format video, photo and audio.
- A wide range of handy editing tools.
- Export video to any format, devices and online sites.
Simple Steps for Making Stop Motion Videos in Filmora Video Editor:
Step 1. Import video or photo to the program
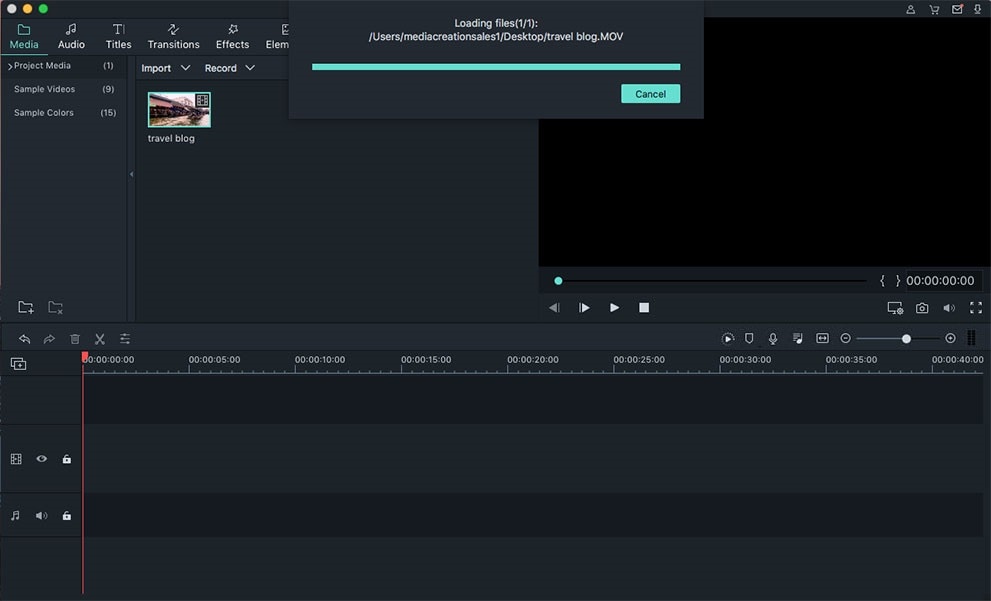
Launch the program and go to the "Full Feature Mode". And click "Import Media" button to select the video you want to make stop motion and import it to the program.

Step 2. Take a video snapshot
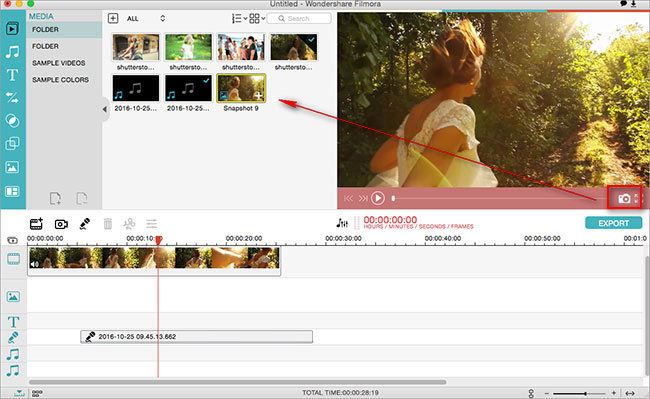
On the right side of Filmora Video Editor, preview the video, and then click on the "Camera" icon to take a snapshot on frame you want to make stop motion.

Step 3. Freeze a frame to make stop motion
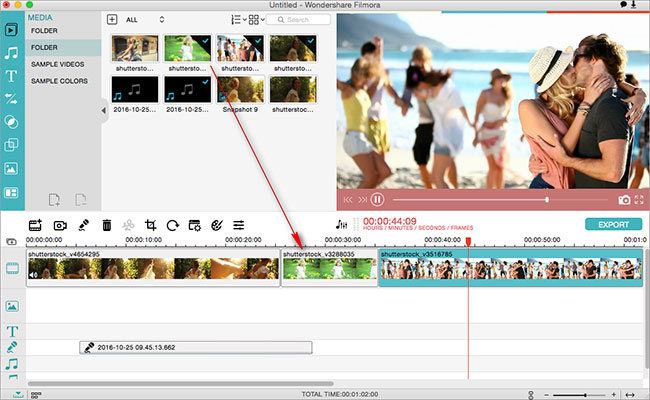
Now drag the snapshot to the location of the video in the timeline, where you want to make a freeze frame. Done. You have maked the stop motion.

Part 2. Guide to Do Stop Motion Video in Windows Movie Maker
If you are planning to use Windows Movie Maker to make "stop motion" on videos, it will be very easy once you have followed these steps:

Step 1. Start by importing the photos you have shot to the Windows Movie Maker. You can connect your digital camera to the computer for easy importing. In case it's a webcam, you can locate the photos right from the computer where they are saved.
Step 2. You can then make adjustments to the settings in Windows Movie Maker by selecting the photos with a "Ctrl A" command on the keyboard. Then, click on "Edit" from the menu bar and adjust the video's duration. The duration to change to is the period that your photos will play for. You must be very careful on this one not to mess up.
Step 3. Make all the basic editing that you want for your video at this stage. You can add titles, credits and background music if you feel it's suitable for your video. Windows Movie Maker will allow for all that but only do what is necessary and right for your video.
Step 4. Preview your edited video to be sure that the "stop motion" effect has been added perfectly. Once you are comfortable, save your project by clicking the "Home" tab and then "Save Movie".


