Zooming is one of the basic editing tasks that you can perform with Windows Movie Maker. Windows Movie Maker has pan and zoom effects that make it possible to move images on a video from one point of the viewing screen to another. It is possible to have your video zoomed in and out depending on whether you want to enlarge or reduce size. The zoom effect should only be used for your video when applicable and not anytime you feel like. You can view below tips and tricks about Windows Movie Maker zoom in/out videos. If you are working on Windows 10, go to get Windows Movie Maker for Windows 10 to Zoom videos.
- Part 1. Best Alternative to Windows Movie Maker to Zoom Video
- Part 2. Does Windows Movie Maker Zoom in a Video?
- Part 3. How to Zoom in a Video Using Windows Movie Maker?
Part 1. Best Alternative For Windows Movie Maker to Zoom in Video
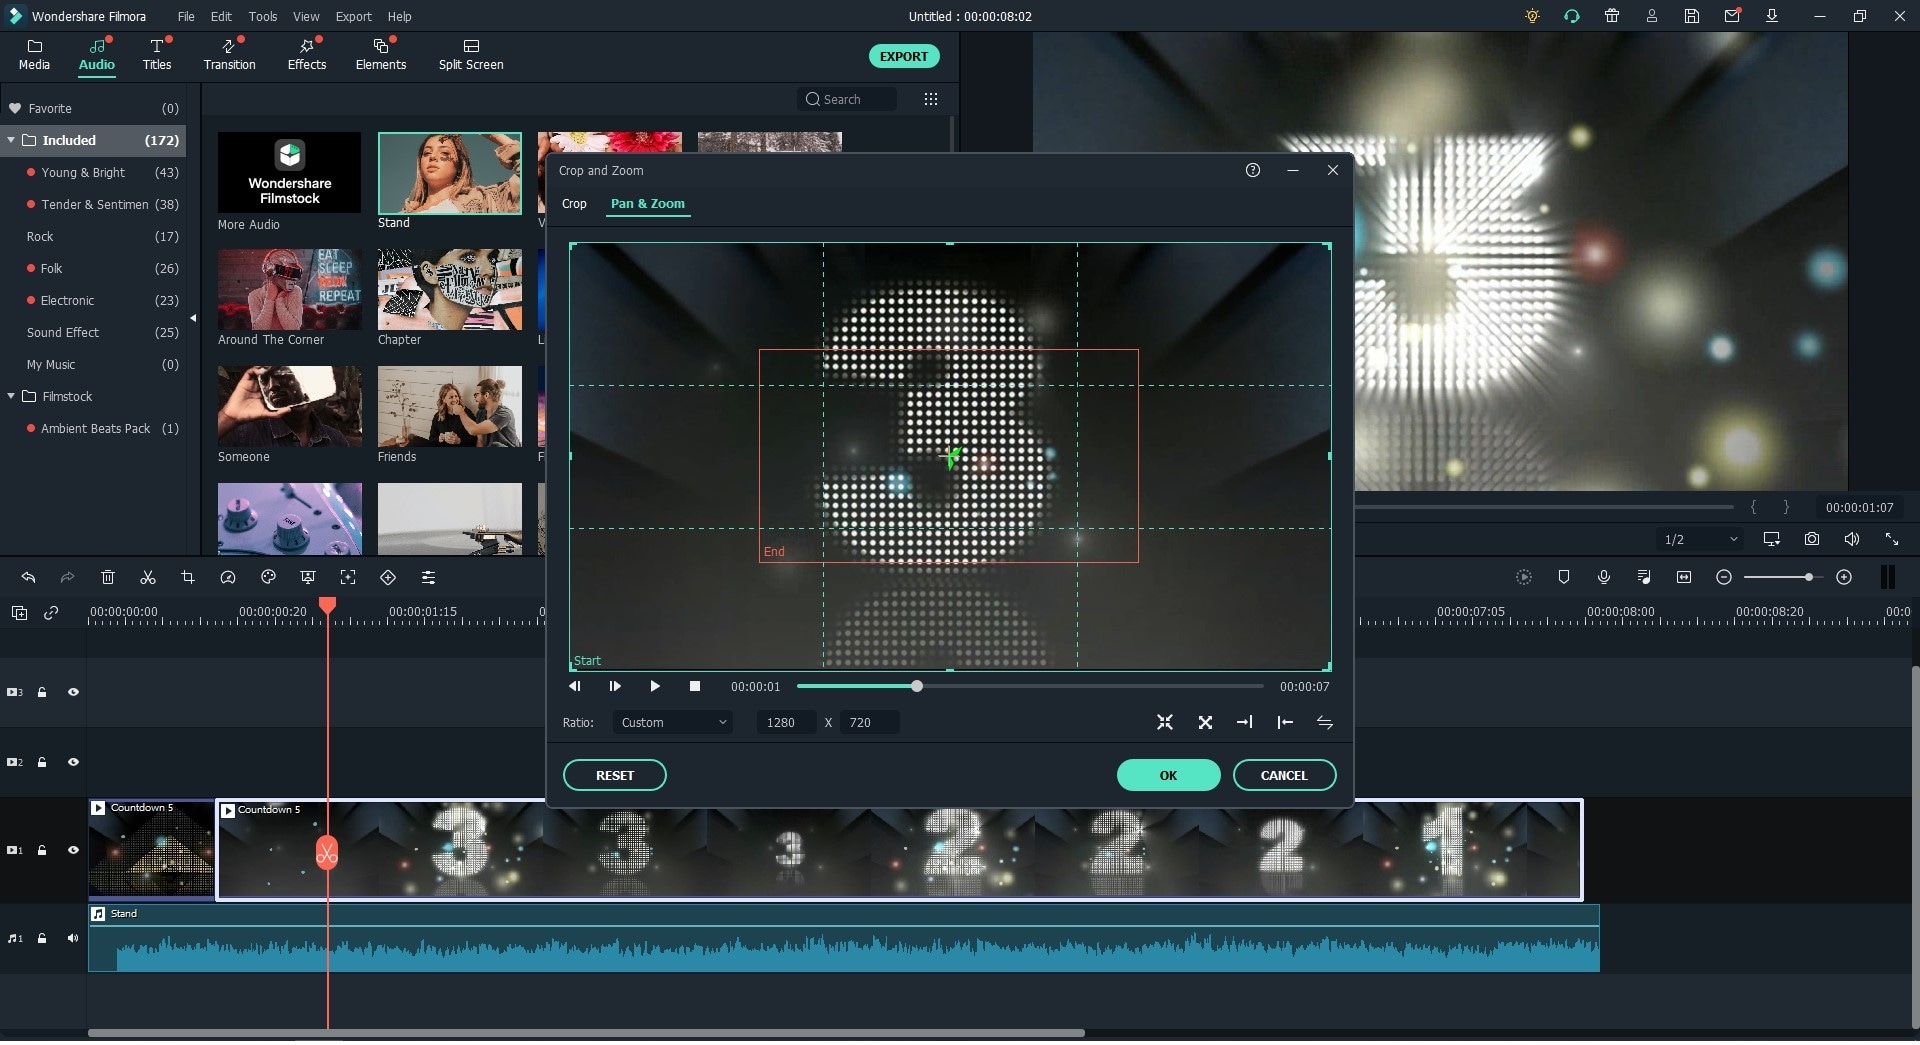
When you want to pay attention to certain details in a video then the best way to do is zoom video. However, the main challenge that you can face is having a video player that lacks the zooming features. In this article, we recommend that you install Filmora Video Editor for Windows (or Filmora Video Editor for Mac) software if you want to zoom and edit your videos. Filmora Video Editor is integrated with Pan and Zoom option asking it easier to view details on your video.
Why Choose Filmora Video Editor
- It is designed with different effects that allow you to make your videos more creative such as; overlays, elements, motions and effects.
- Filmora Video Editor software also allows you to adjust volume, fade in, fade out, adjust pitch and also comes with a number of equalizers preset.
- You can also add texts and titles, edit texts and titles as well as remove title and texts.
- With this software, you will get unique advanced editing features such as; power tool, split screen, green screen, video snapshot, play videos in reverse, scene detection and others.
- This software is built with action cam editing options like; speed effect, colour tuning effect, instant cutter, fix and correction option.
How to Zoom Videos using Filmora Video Editor
Step 1. Import videos
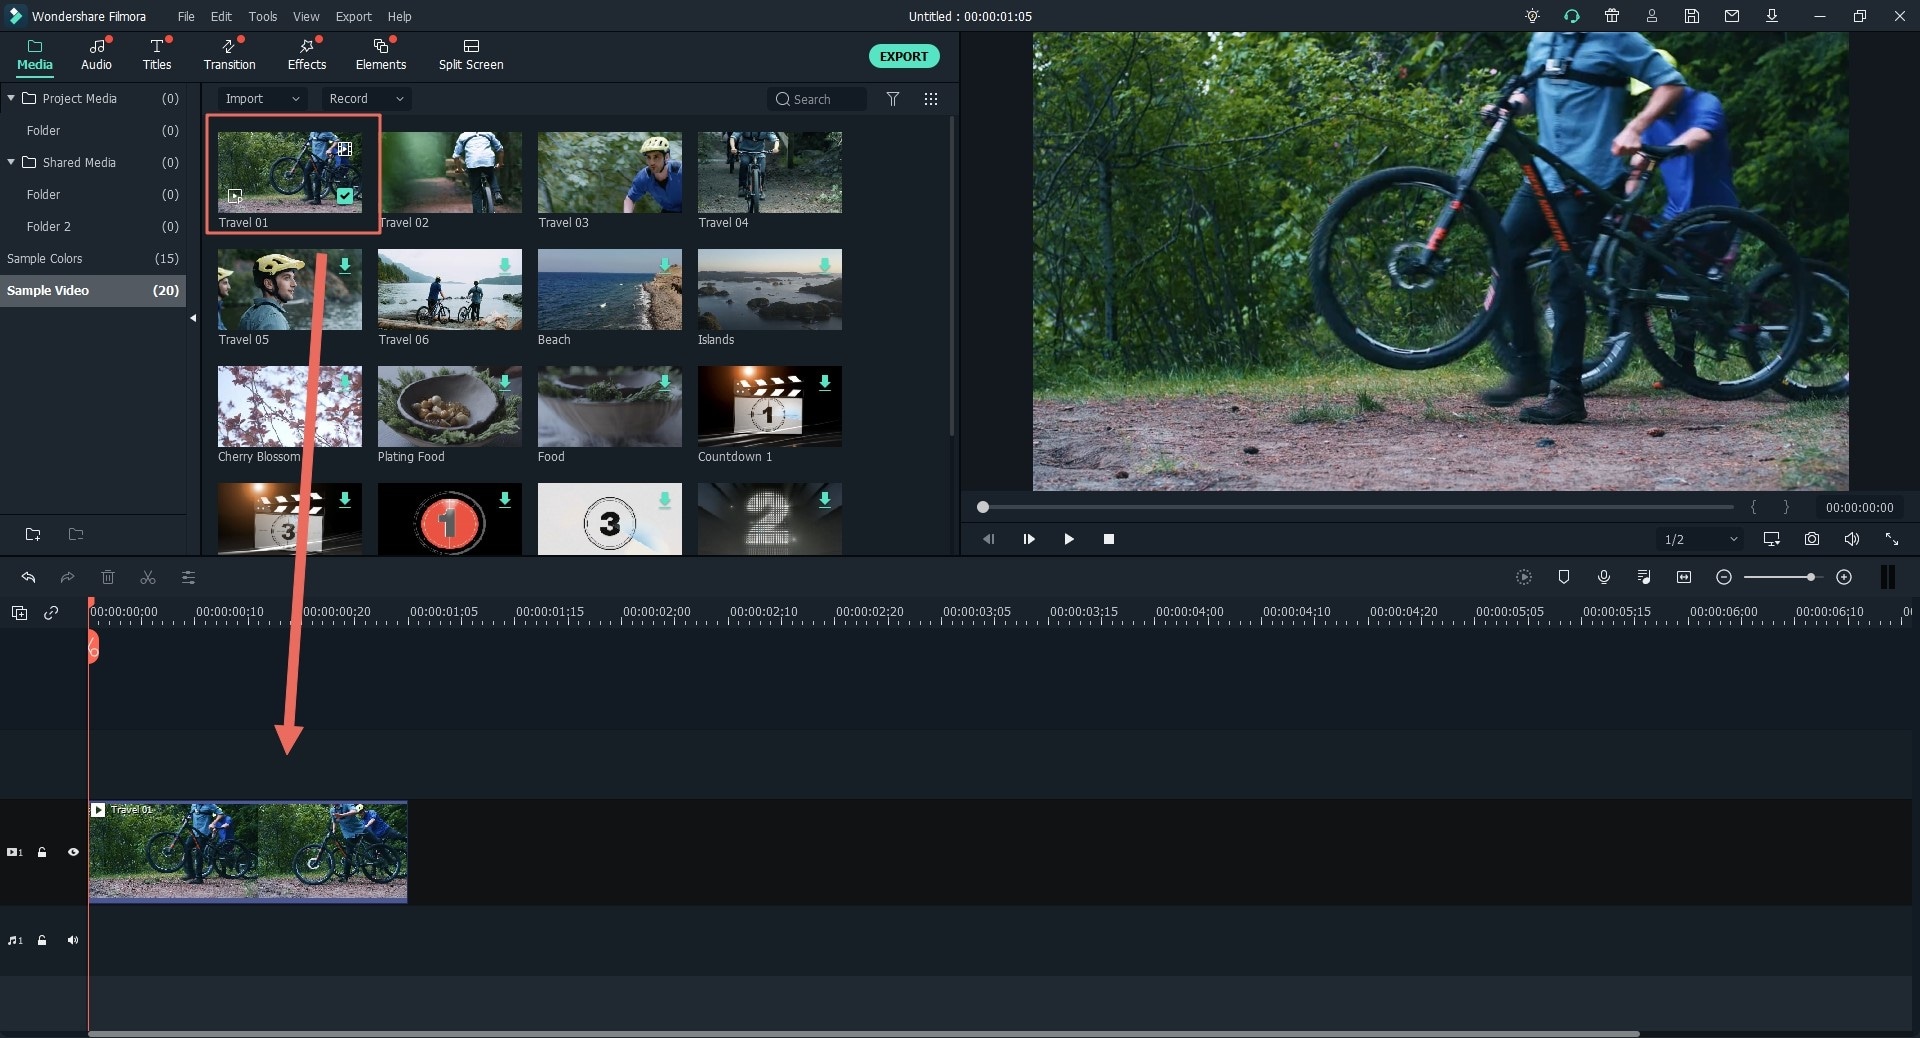
Open Filmora Video Editor software on your computer and click on “Import” button. Next, click on “Import Files” option and import the video that you will like to zoom.

Step 2. Drag video to the timeline
When your video has been uploaded you will see it appear on the home screen. Now, click on the video and then drag and drop the video to the timeline.

Step 3. Zoom video
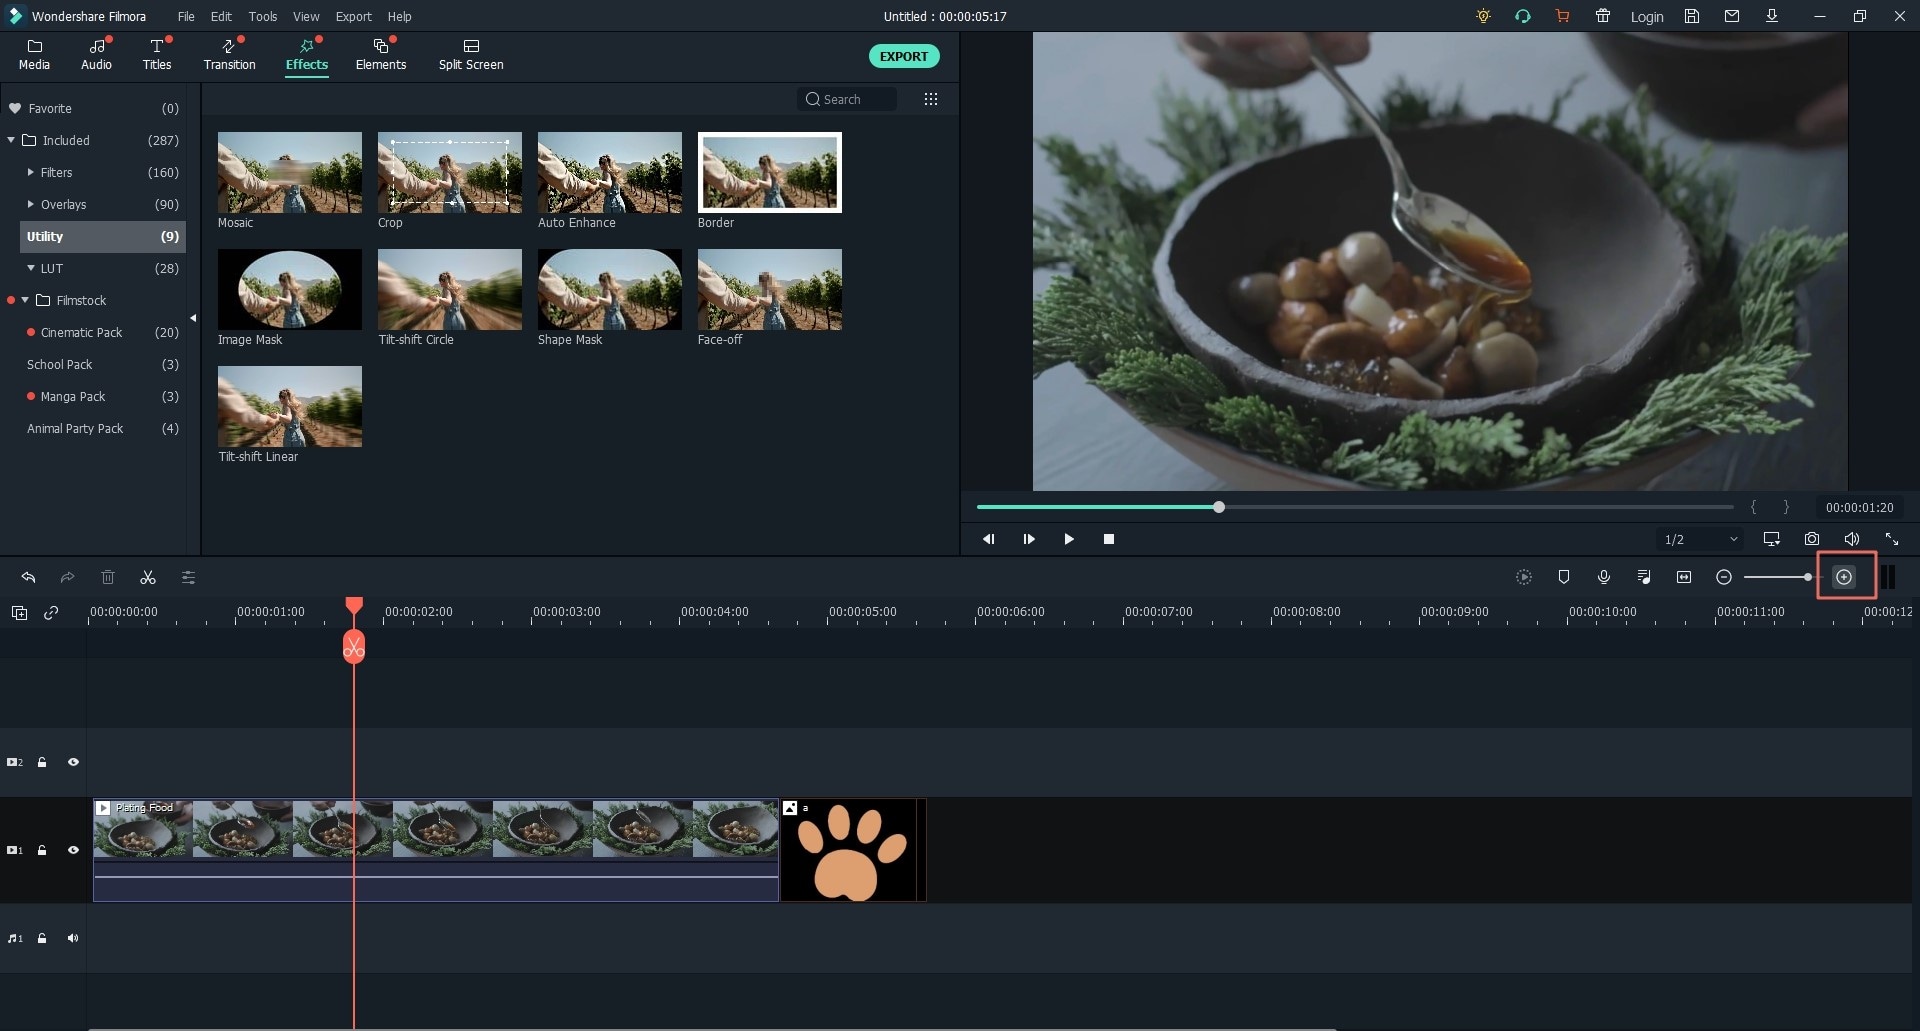
While on the timeline navigate to the right side of the formatting bar and click on “Add” button to zoom into your video. To zoom out click on “–” button.

Step 4. Export edited video
After zooming the video and you are done, then you can then click on “Export” to save your video. Go for “Output” and select the output format, rename your video if you want and save it on your computer.

Part 2. Does Windows Movie Maker Zoom in a Video?

If Windows Movie Maker cannot zoom in or out a video, that’s because it’s not the right program for your video editing. If you are planning to use it, you are lucky enough because it allows for zooming of videos either in or out. The program has very many zoom effects for you to choose so that you can select the most suitable one to use.
The only shortcoming of the zooming effects for Windows Movie Maker is that they can’t be customized. This means you will not be able to change speed or direction thus limited for use in selected sections of a video or slideshows. The number of times that you can use zoom effects for your video project will be determined by the type of project you are working on among many other things.
In making sure there is no redundancy on the video you are editing, it is advisable that you use multiple zoom effects but don’t overuse them. Regardless of the number of zoom effects you use for your video, there must be proper timing. This will ensure the effects are in sync with the images or audio files making up the project. Any inconsistencies will only make the edited file appear horrible and an opposite of what you were expecting. Choose when to use zoom and when not to use it for your video editing.
Part 3. How to Zoom in a Video Using Windows Movie Maker?
When you have a manual for zooming in and out a video on Windows Movie Maker, it will offer you an experience like you have never had in your lifetime. The zooming option will allow for manipulation of video details since time displays are smaller. You will be able to see the timeline as well as all its details with ease.
When it has zoomed out your videos, details of the video from the timeline are possible to view as well as their arrangement. When editing, you can zoom in by using the “Zoom to Fit” command. From the timeline, you can give the following commands in applying the zoom effect:
1. Open up. First of all, you need to open the program and get ready for editing. From the “View” menu, click on the “Timeline” button and it will open up and be ready for editing.
2. Zoom in. To zoom in a video, click on the “Zoom in” option from the “View” menu and you will see all the advanced details of the video.
3. Zoom out. To zoom out, click the “Zoom out” option of the “View” menu and you will view lesser details of the video.


