Xvid is a new, popular video codec and an open source project developed by the volunteer programs around the world. Xvid’s quality and efficiency has made it one of the most used video codecs online. In this article, we will discuss how to split Xvid files without re-encoding with the best Xvid splitter.
The Best Xvid Splitter - Filmora Video Editor

Filmora Video Editor is the highly recommended video editing software that can seamlessly edit videos and split Xvid files with much ease and creativity. This Xvid splitter software, being equipped with multiple, highly advance features and striking video effects, is ideal for creating and editing professional videos. The inclusion of basic editing features and easy user interface make it equally suitable for the beginners. From text to motion graphics to special effects to video splitting, Filmora Video Editor has a complete world of video editing features to offer. Following are some of the key features of the software:
Key Features of Filmora Video Editor:
- Motion Elements: Choose from more than 300 kinds of motion graphics created for different occasions.
- Transitions: Use green-screen feature to create incredible scenes.
- Split Screen: Split video screen from different angles. You can also place multiple videos in one screen at the same time; a great way to narrate your story.
Tutorial on How to Split Xvid Files
This article presents a step-by-step tutorial for how to split Xvid files with Filmora Video Editor, having a practical and very easy-to-use Xvid splitter feature. The entire process is based on few simple steps. The Xvid splitter feature of Filmora Video Editor splits any segment of Xvid files easily, within few minutes. Also, you can always split a big Xvid file into many small-sized files or segments.
Step 1: Launch the Xvid splitter
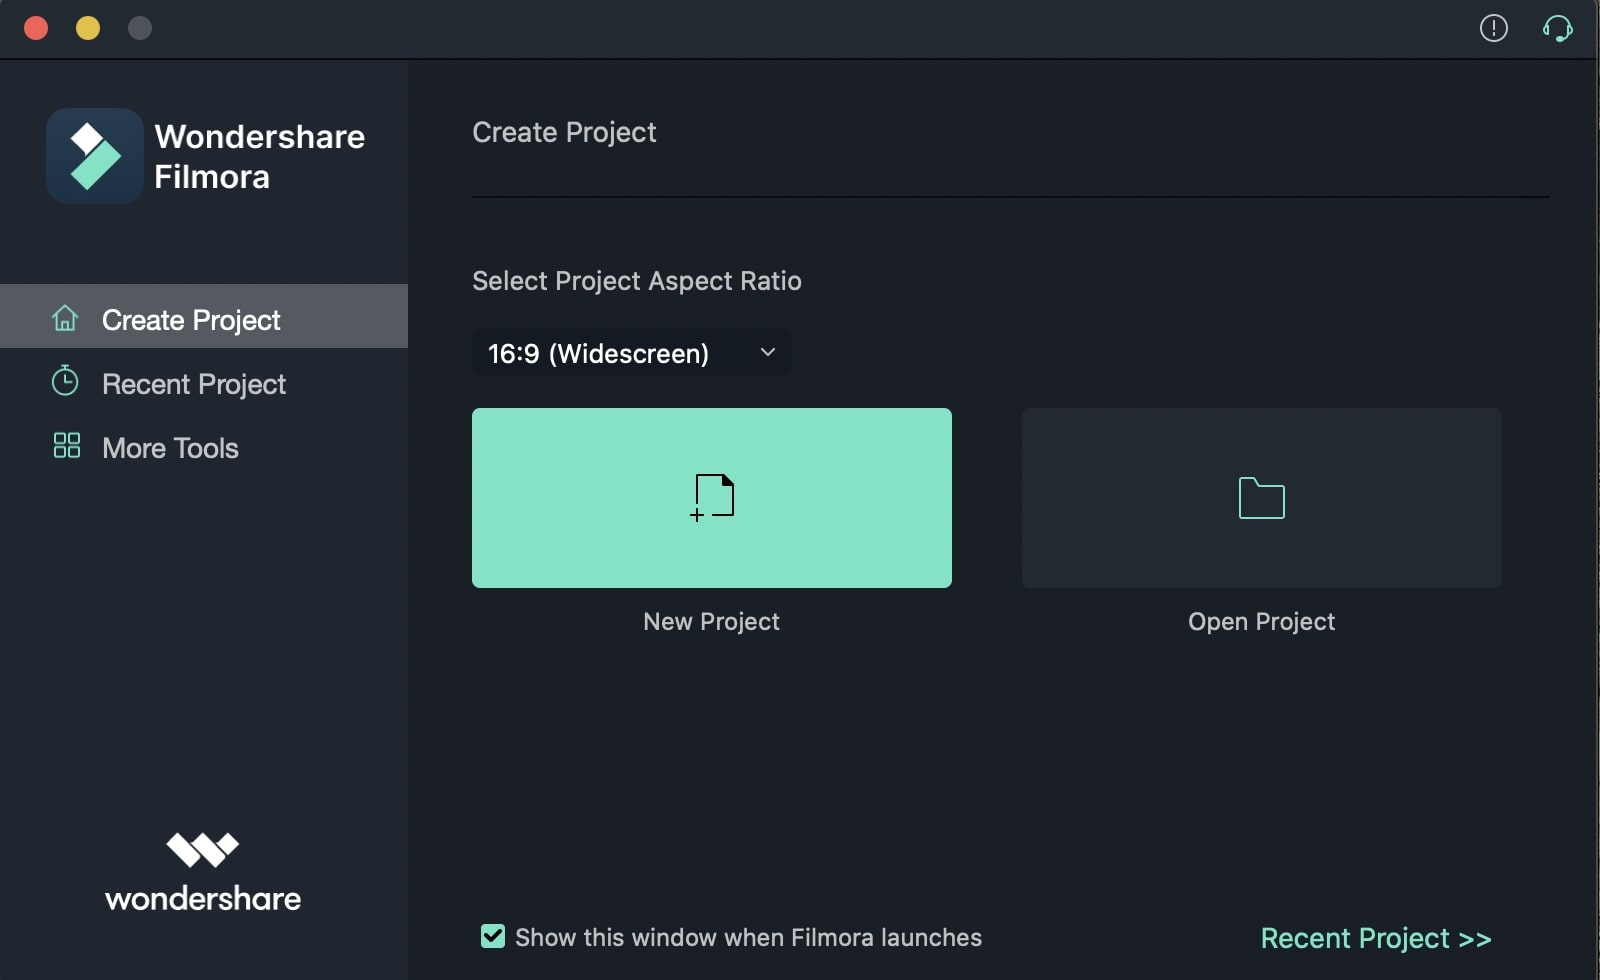
The first step is based on downloading and installing Filmora Video Editor. Once you download the software, follow the instruction to install it. And then launch the Xvid splitter. And you can go to “Create New Movie” for Xvid splitting.

Step 2: Import Xvid files to the program
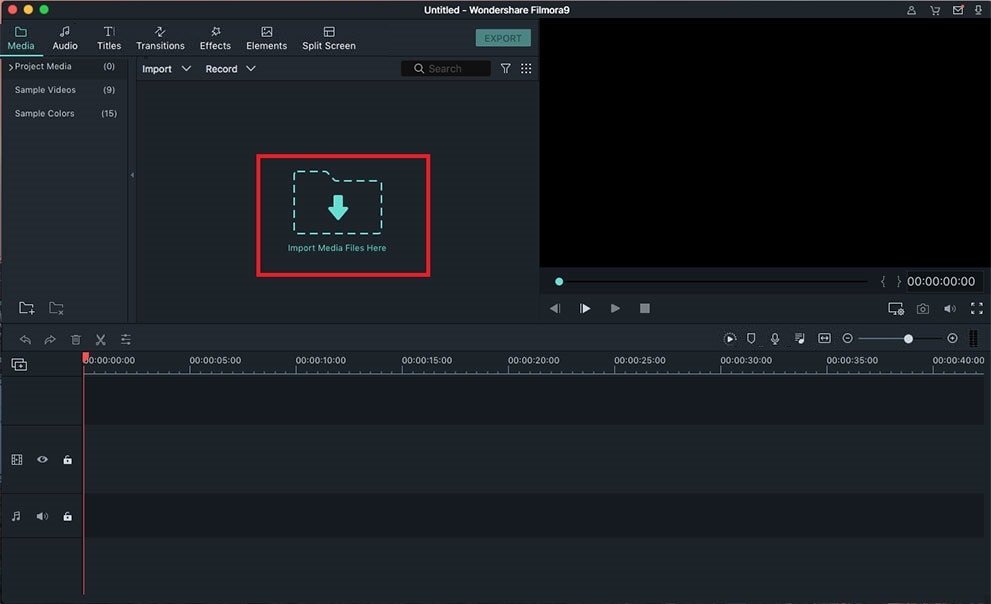
Now import the Xvid file into the software’s album. This easily and quickly be done by clicking “Import” given on the main menu of the interface. Now navigate to the Xvid file that you want to import it to the program. As an alternative, you can directly open the folder having your Xvid files stored on your system and then drag them into the software’s album.

Step 3: Split Xvid file
Drag your Xvid file to the timeline and split the Xvid file from anywhere you want. You can do this by dragging the top of red Time Indicator to place it at one of the positions you want. Then click “Scissor”. Your Xvid file is split into two parts. This way, you can split your Xvid file into as many parts as you want.
Once Xvid file is split, you can either keep the split parts separately or delete them. The edited file parts can be imported as a single file. This allows you to cut any segment you don’t like or make your Xvid file of exactly your desired length.

Step 4: Export the file
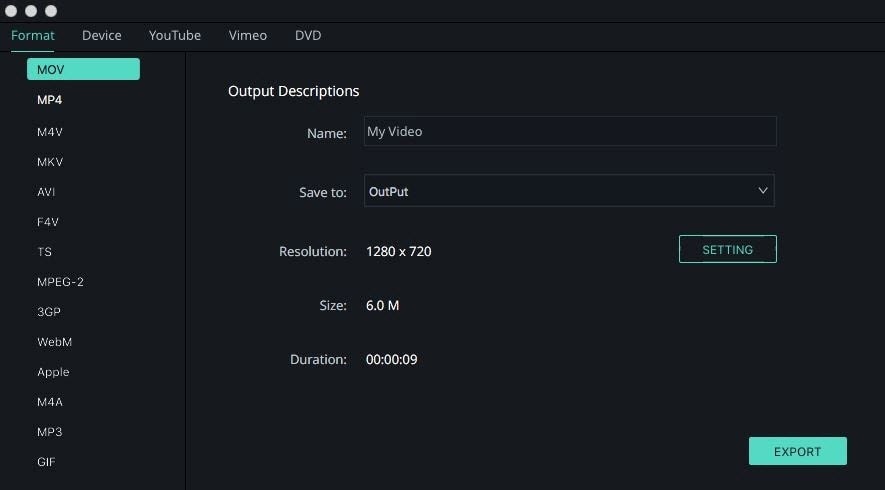
Once the Xvid file is split, you would want to export and share it. To do this, click “Export” tab and choose an output method given in the popping-up window. The method is used to export the new file. If you want your file to remain in Xvid format, go to format tab and click AVI. Then choose “Advanced Setting” option to click Xvid as its encoder. It is to be noted that usually a Xvid file is the AVI format with Xvid codec. Once export is done, you are all set to share your edited Xvid files.


