
Filmora Video Editor
How to Import Media Files to Filmora Video Editor
- Part 1: Import Video/Image/Audio to Media Library
- Part 2: Record Video with Filmora Video Editor
- Part 3: Manage Media Files
1 How to Import Video/Image/Audio to Media Library?
#1. Import Existing Video, Photo and Audio
There are actually 4 ways to import media files, including photos, videos and audio files, to Filmora Video Editor.
1. Click the "Import Media Files Here" on the left side of the main window to browse media files on your computer and import them to the software.
2. Click the "IMPORT" button in the upper part of the software, then select "Import Media Files" or "Import a Media Folder".
3. Go to the "File" menu and click the "Import Media" option to select the files from your local folder and import it to the program.
4. Drag and drop media files directly to the software.

#2. Import Media Files from Camcorders, Cameras, and Phones
You can directly import video and photo shot by Camcorders, Cameras, iPhone or Android devices to Filmora Video Editor for editing.
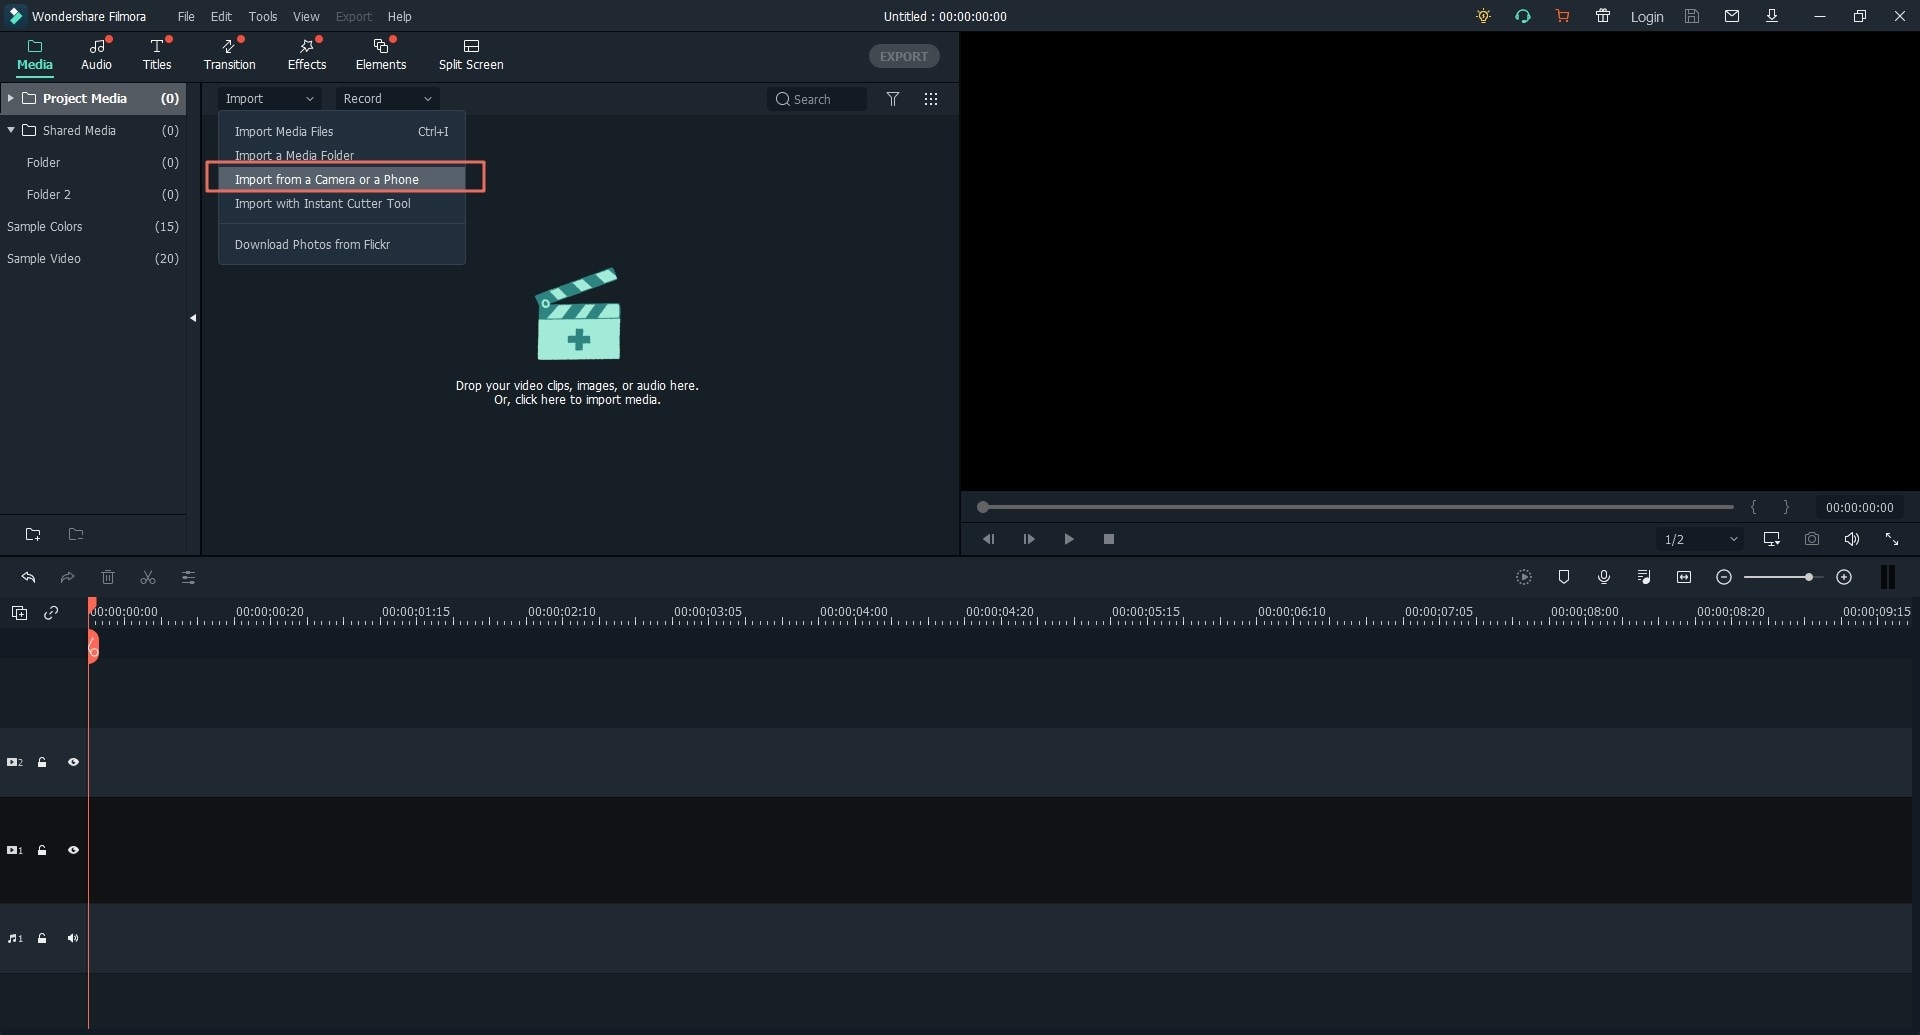
Click the "IMPORT" button on the top of the software to reveal the drop-down list > select the source from where you’ll import media files.
Tips: If you need to import files from camcorders, cameras and other smartphones, please connect your device with your computer first.
#3. Import Media Files from Facebook, Flickr, Instagram, etc.
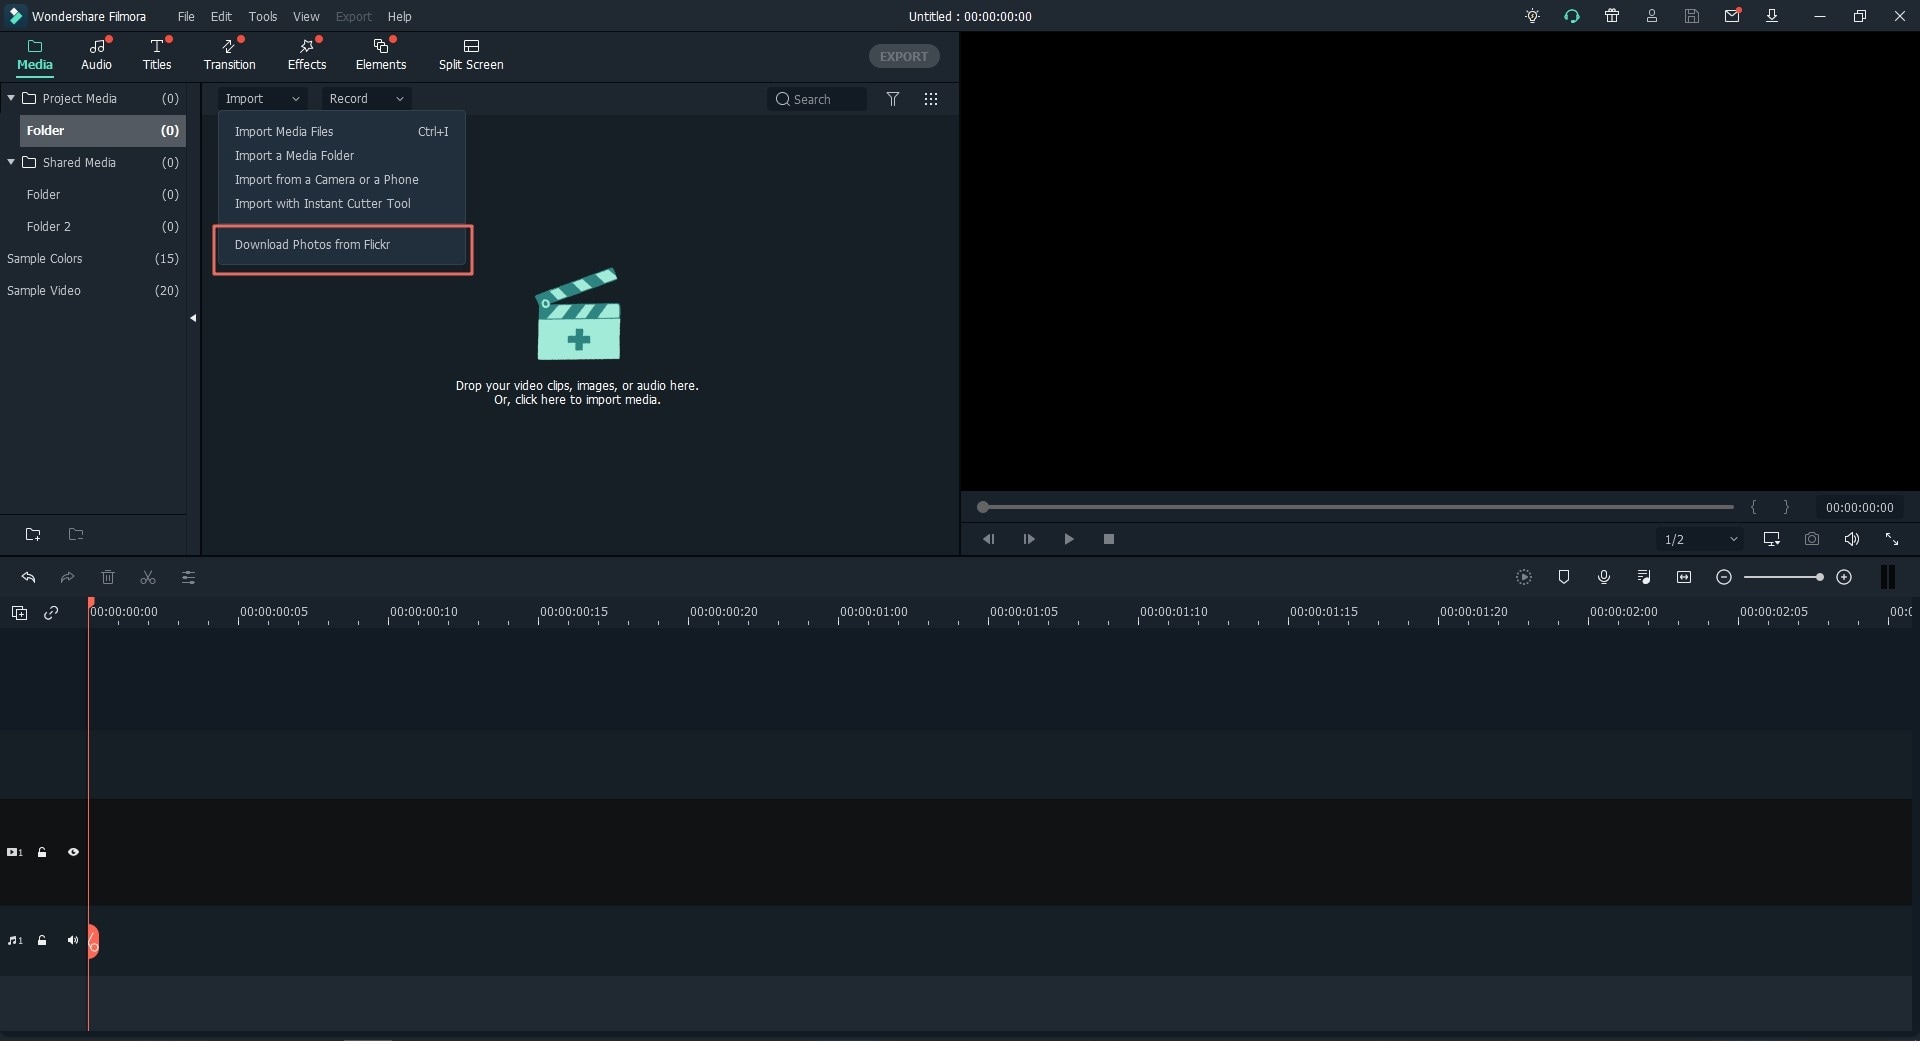
To import files from Facebook, Flickr and Instagram, click the "File" menu, and click the "Download Media" option, and then select to download media from Facebook, Instagram or Flickr.
Tips: If you want to import media files from Facebook, Flickr and Instagram, click the corresponding option and enter your account information.
2 How to Record Video with Filmora Video Editor?
#1. Record Videos via the Built-in Webcam
Filmora Video Editor allows you to record videos of yourself via the built-in Webcam. Click the "RECORD" button to reveal the drop-down list > select "Record from Webcam" > in the next pop-up, click "capture" to begin. After the recording, you can preview the video.

#2. Record PC Screen
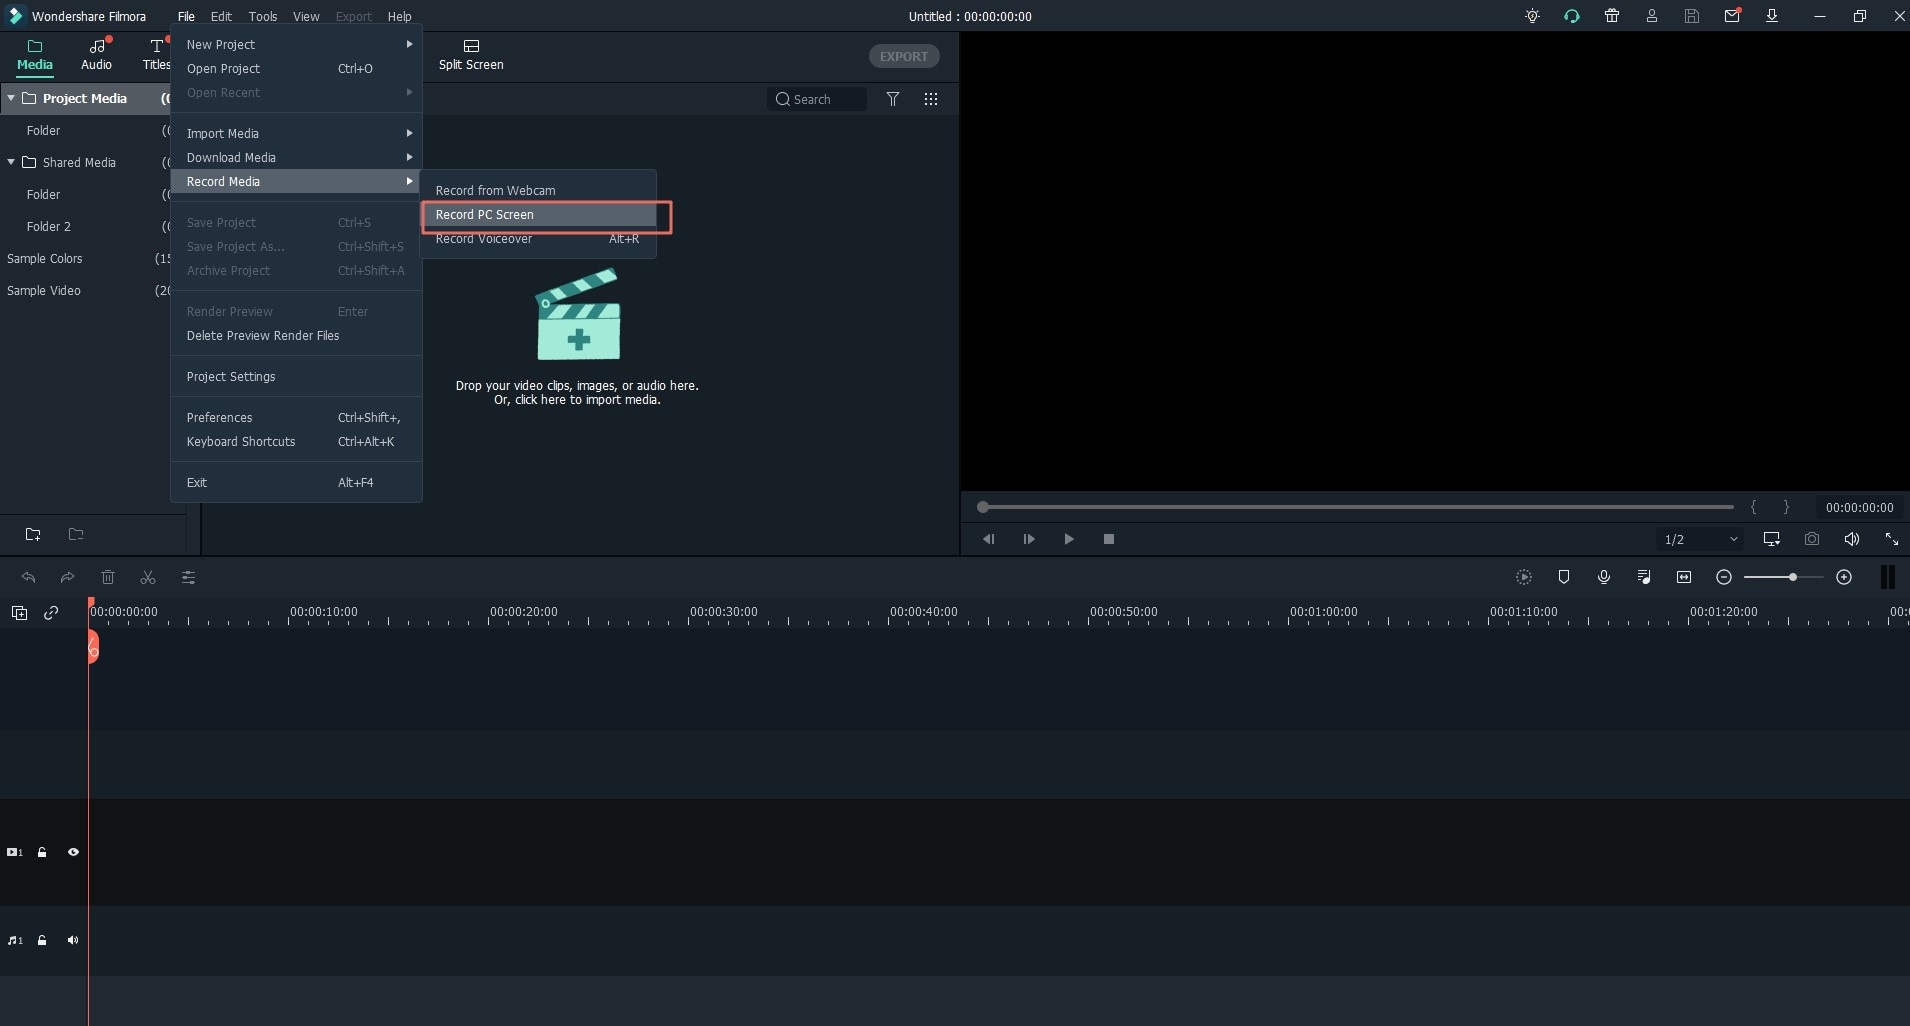
Filmora Video Editor is able to record the screen of your computer, which means it will help you record your love video games or any software running on the computer. Click the "RECORD" button > in the drop-down list, select "Record PC Screen" > then click the red "REC" to begin the recording. Click the Settings gear icon, you can set up your preferences for the recorded video.
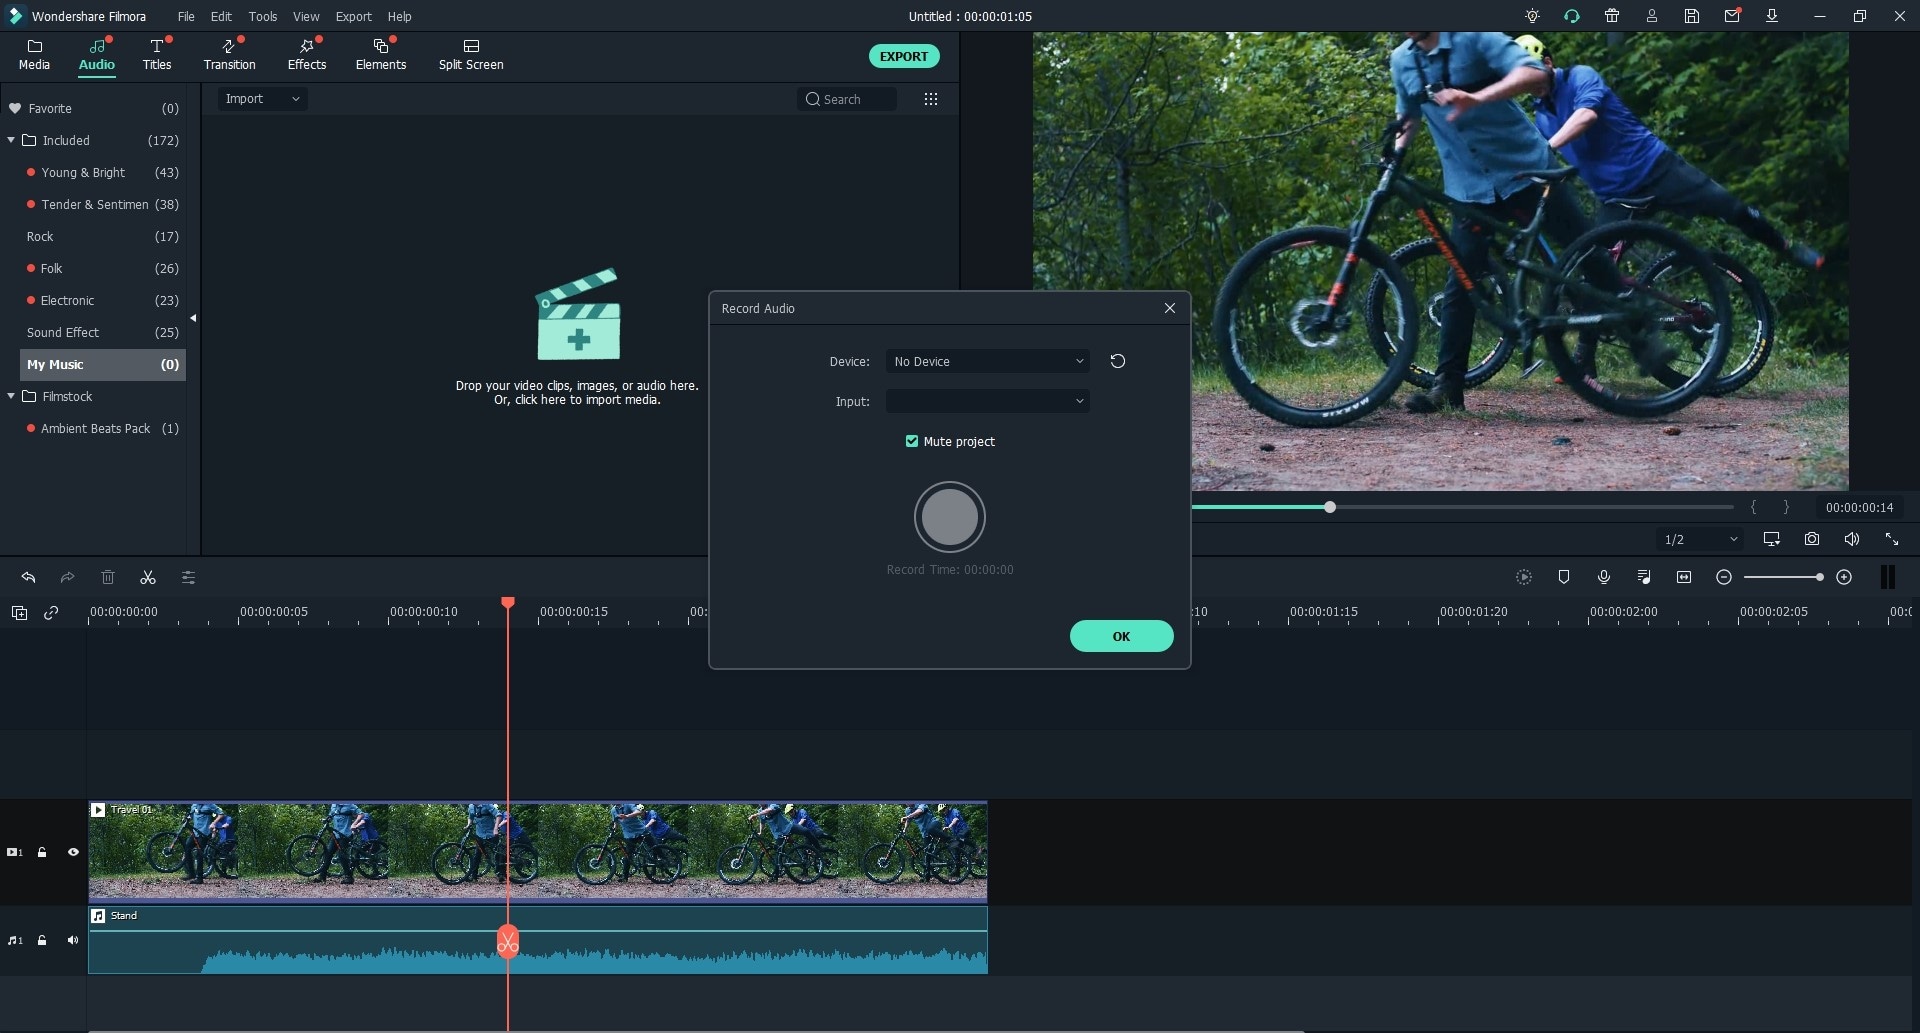
#3. Record Voiceover
Just like videos, you can also record voiceover via Filmora Video Editor. Click the "RECORD" button, and select the "Record a voiceover" option from the drop-down menu. And then in the pop-up prompt, click the microphone icon to record voiceover. After the recording, the voiceover audio track will be displayed both in the Media Library and in Timeline.
3 How to Manage Media Files?
After importing the media files to Filmora Video Editor, you can manage the media files per your need.
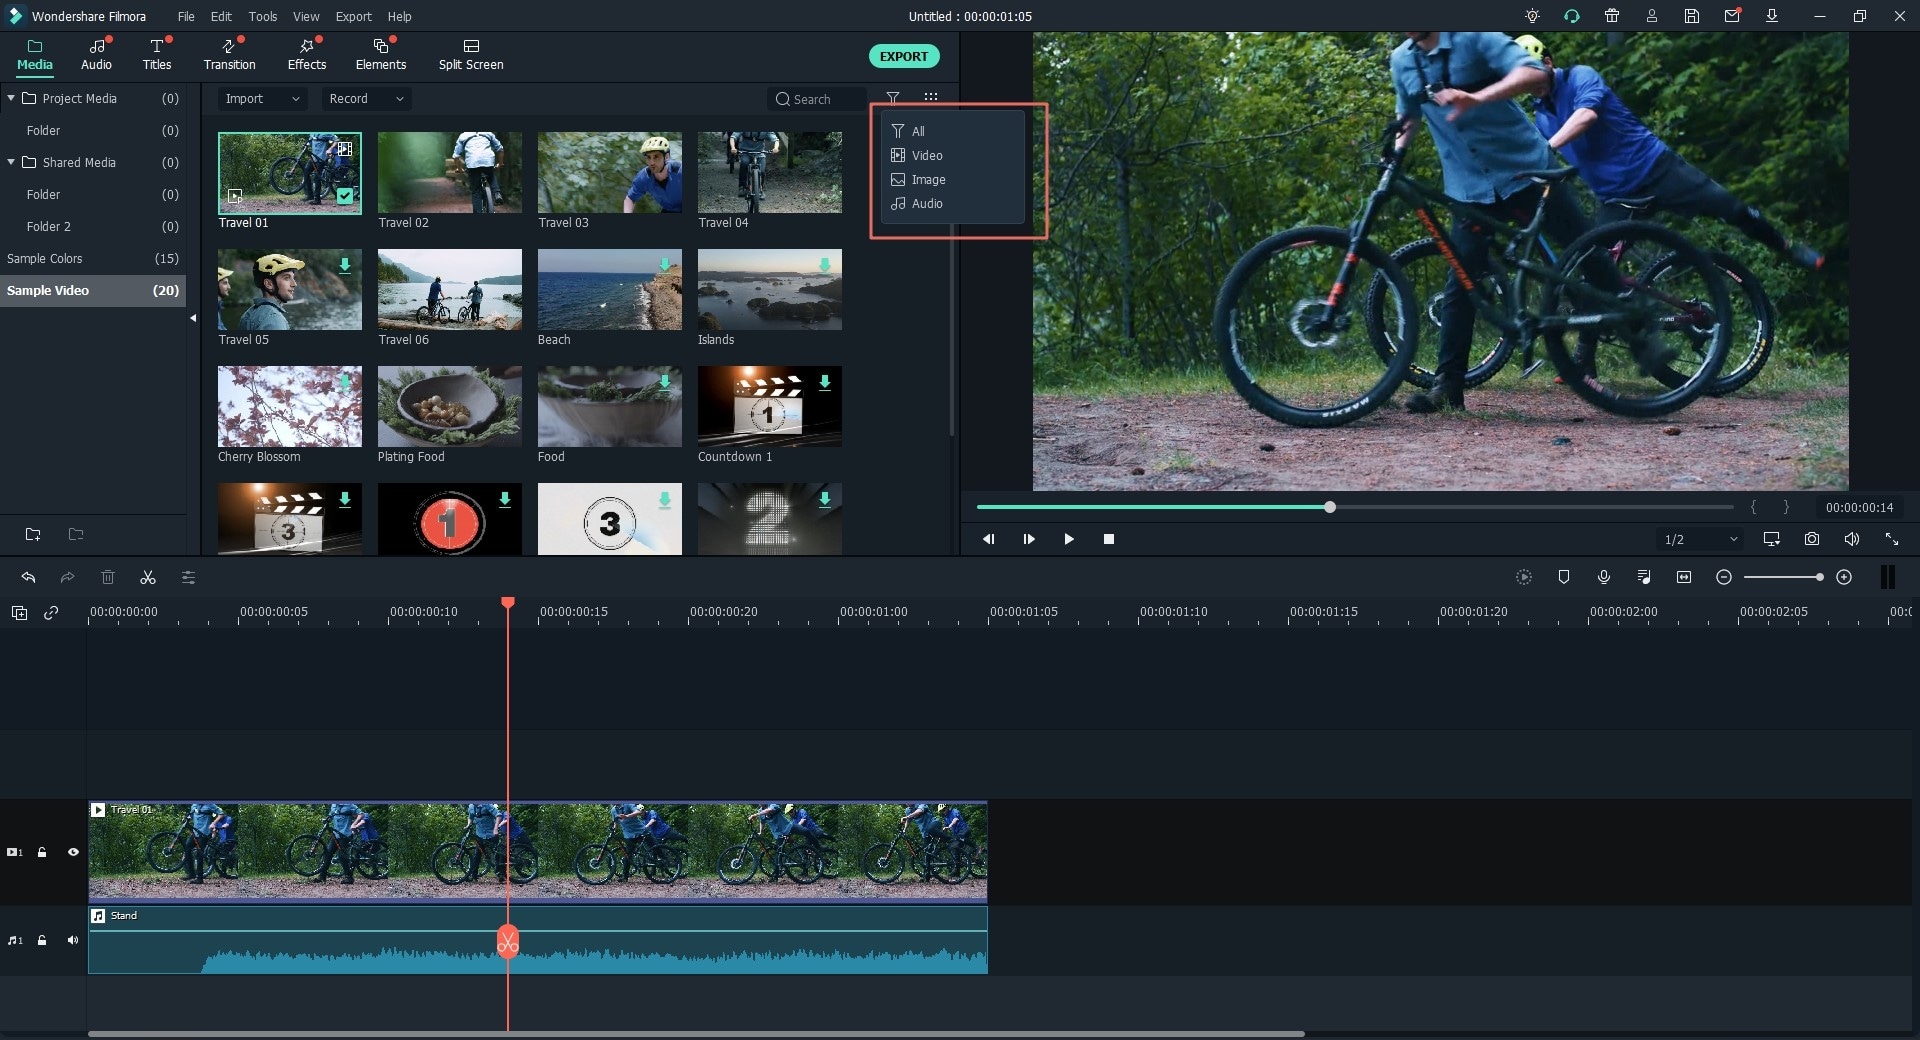
#1. Filter the Media Files
You can filter the videos, photos and audio by the file type.
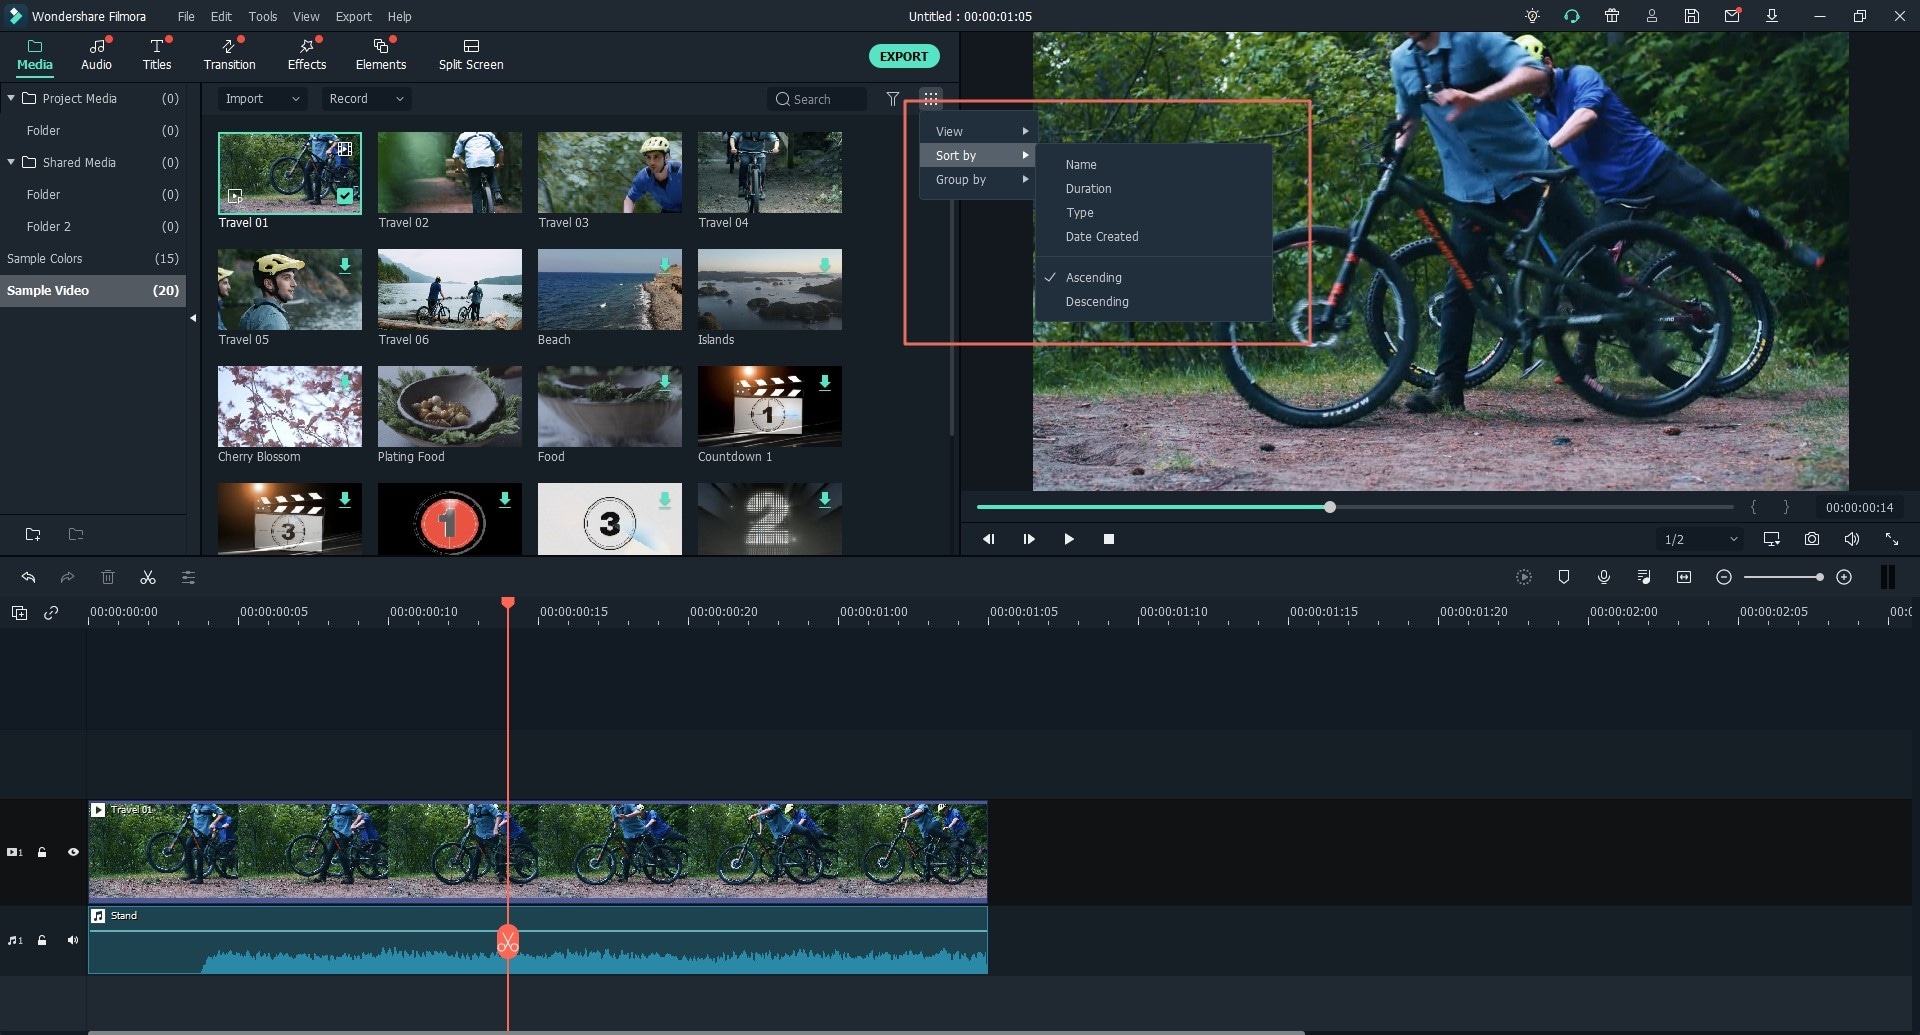
#2. Sort Media Files
You can orange the files according to the Name, Duration, Date Created, Ascending or Descending.
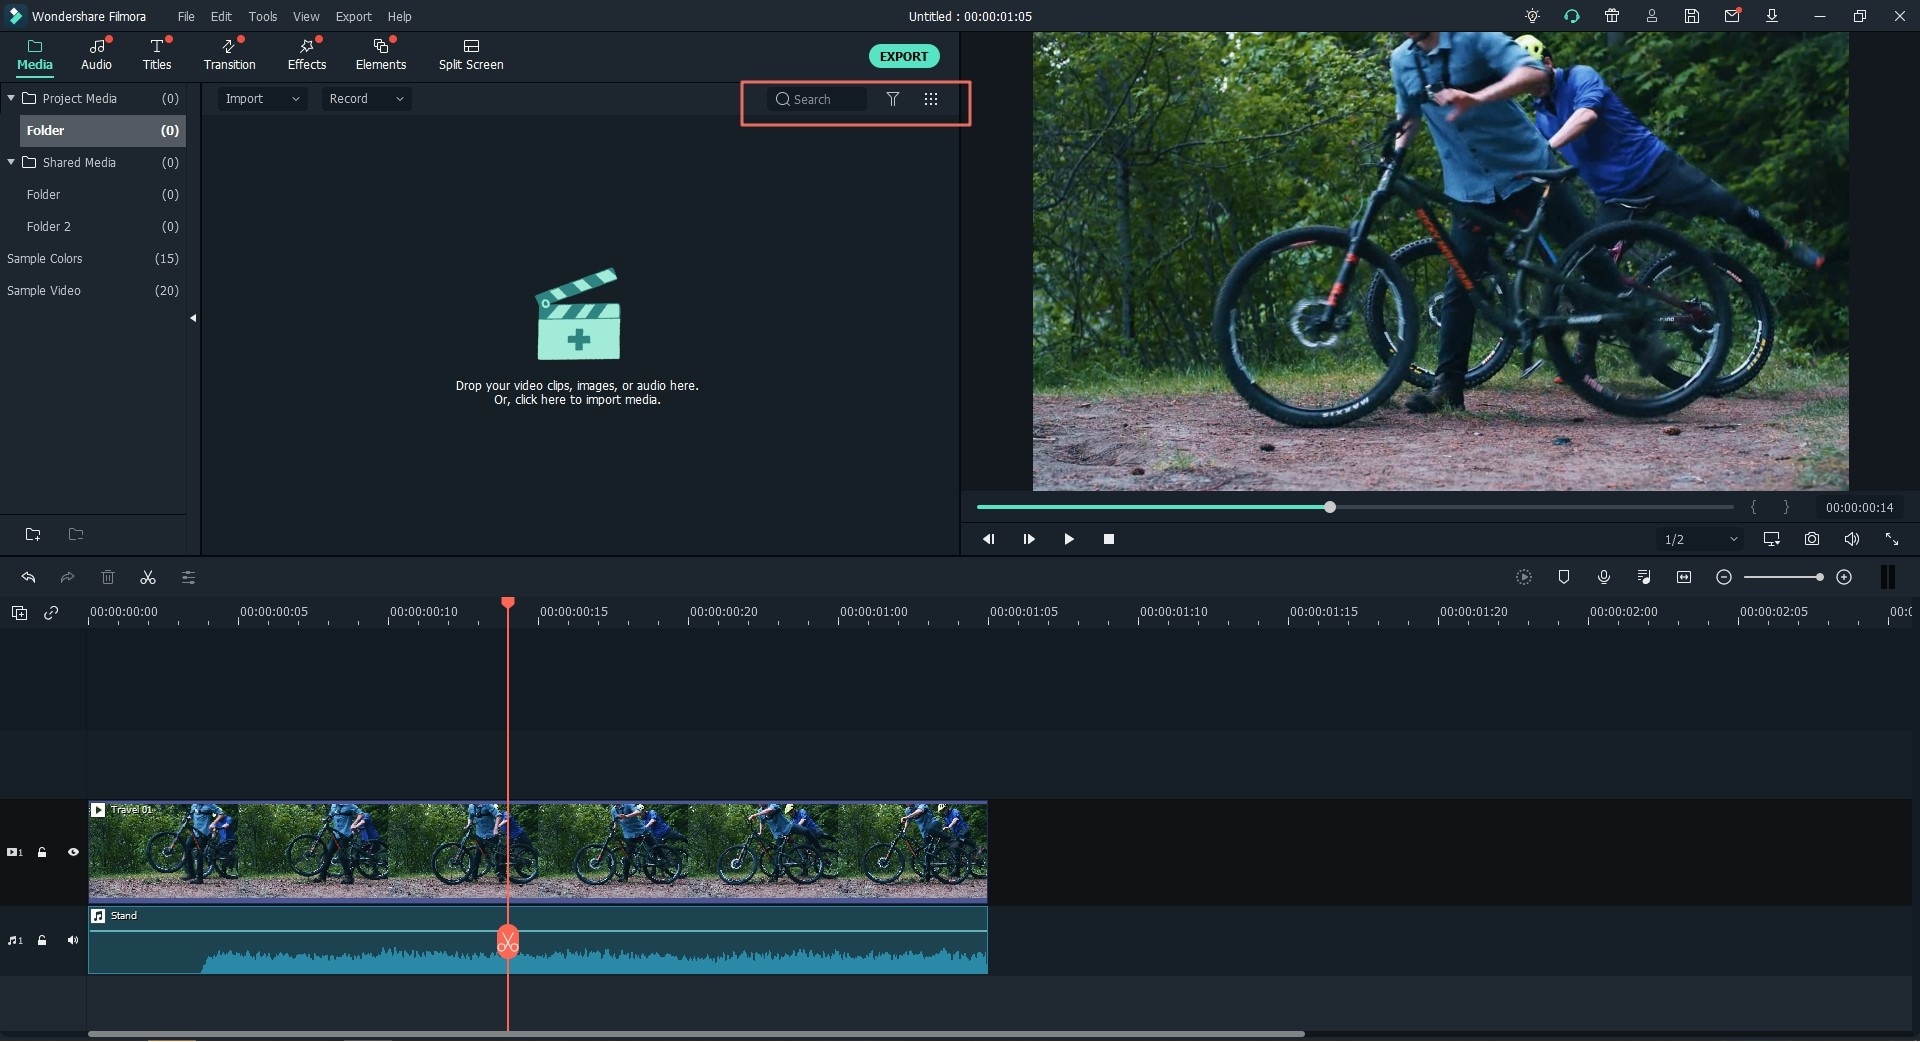
#3. Search Media File
You can locate your video, photo or audio by imputing the name in the Search bar.
#3. How to Take Snapshots from Videos
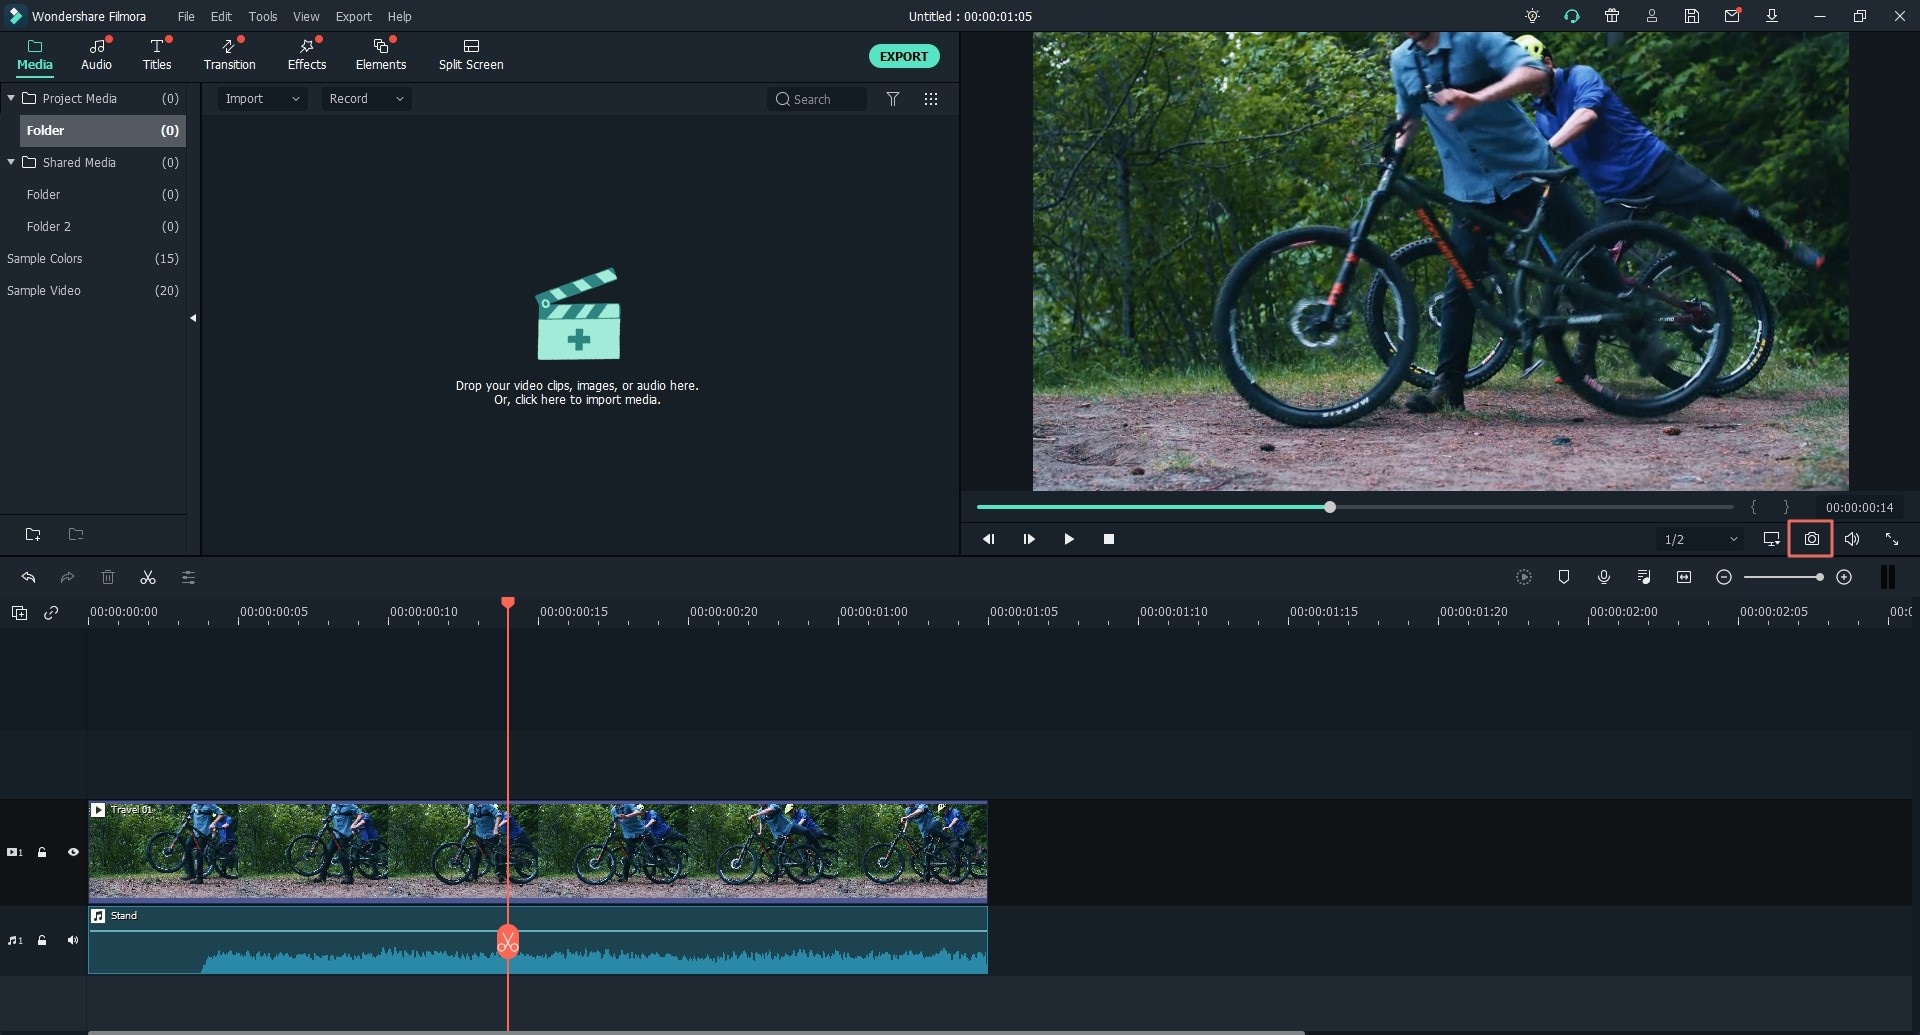
There is a little camera icon at the lower part of the video preview window. To take snapshots of a video, select the video in the Media Library and play it in the preview window. After then click the camera icon.
Popular Products


